Search the Community
Showing results for tags 'plastidip'.
Found 23 results
-
From the album: Projekt|White
Starting to Remove the masking tape! -
From the album: Projekt|White
First coat of plastidip -

From the album: Projekt|White
Masked everything up for Plastidip -
 I own an XFX RX570 - not too powerful of a card. I'm planning on using plasti-dip to make the plastic shroud and metal backplate white. Unfortunately, even now while I've still yet to do it, the copper heatpipes on the side of the card are less than appealing to me. Would it be possible to paint the visible portions of the heatpipes? I would be only doing the visible copper, sealing off the rest of the heatsink fins as to not get any on them.
 -
Hi everyone, new member here. I was wondering if anyone has any idea what the background song in the video "Can You PLASTIDIP a WHOLE PC?? Will it STILL WORK??" is? It has a retro sound and you can hear it well starting 0:43 seconds in the video. I am not talking about the intro / outro or the 80s music used in the b-roll. The names for those are listed in the description and the background song is not listed there. I've gone through the forum and the comments of the video and had no luck in finding the song name. Any Hints would be appreciated.
-
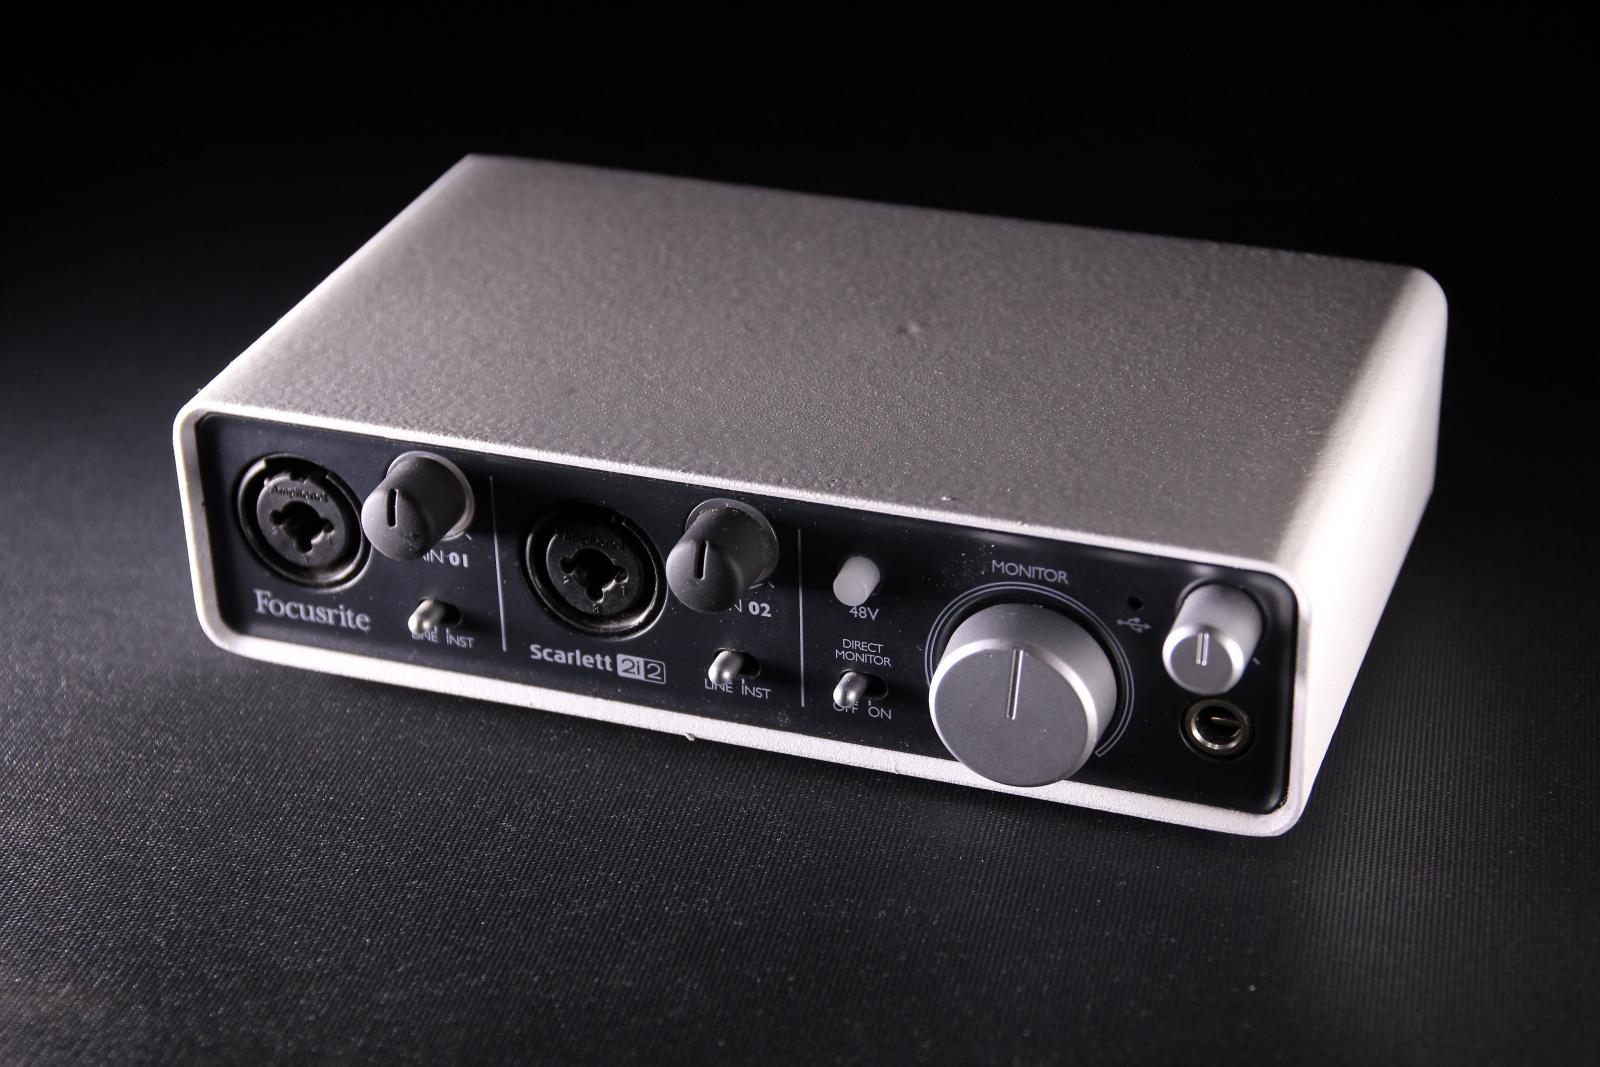
I got a bonus at work the other day and wanted to upgrade my water cooling to a custom loop. Did the configurator on EKWB but the shipping and taxes put me over budget. I cant seem to pull the trigger on a $600 loop when I dont terribly need anything like that. It would be more of a silence and extra cooling upgrade instead of something I need for overclocking. Didnt seem worth it to me right now. As an alternative until I decide to get it or not, I bought some Plasti Dip to paint my Corsair AIO for some upgraded looks. The all black AIO doesn't exactly stand out. I bought the granite Plasti Dip and some metallic gray plasti dip alternative from Duplicolor. To start the project I removed the AIO from the computer and masked it off from the fittings with masking tape. I also covered the fins with a piece of paper and made sure to mask around them as well. After three coats of the Plasti Dip with 30 minutes of drying in between I didnt like the flat gray primer type look and decided to use the Duplicolor to finish it off. Love the results and am happy for now with how it looks. I got some thermal grease all over that I still need to wipe off. Before: After:

-
I like the product a lot. I've used it on the inside of my Pelican and SKB camera gear cases on the foam (it looks cool and holds the "pluck n pull" together very well). I'm considering using some on the exterior of my Smilodon case. I know about proper prep, but want to hear from anyone that's actually used it on the exterior of a case. Especially if they used light colors. How does it hold up? Does it discolor easily from dirty fingers, skin oil? Is it easy to clean without "peeling off"? I know it's used on automobiles and hold up to pressure washing, but it's applied with a spray gun, and not a spray can. Thanks!
-
Well, the title says it all. This was originally a black Gigabyte GTX 1060 3GB with orange accents on the the front, and now it is white with orange accents! First time using Plasti Dip, so feel free to give your opinions on the finish and outcome! The final image is how the card looked originally, and the second to last image shows it in the system, with the similarly Plasti Dipped SSD trays on my S340.
-
I have a black corsair 400c and would like to turn the powersupply cover and pci brackets white to better match my theme should i use car paint instead because it is cheaper to plastidp
-
Hello, here is my dillema. I'm making a white/black build (link below) and my AsRock B85M has a lot hideous brown lanes. I did plastidip my PCI WiFi card to see how will it behave, and the shade of white does not match my build. So would it be ok to make 1-2 coats of spray paint over plastidip, or will there be some weird reaction between those two? Or should I just go in "f**k it" mode and spray paint the motherboard directly?
-
My copper coloured subwoofer didn't match the rest of my speaker/PC setup, so I decided to plastidip it Typically painting speakers isn't a great idea because they need to move very rapidly, and adding mass to the cone slows it down. However, since this is a subwoofer and not a woofer/midrange/tweeter, the effect is very small due to the cone's already large mass. A few grams of paint will only increase the cone mass by a few % which isn't going to make an audible difference (at least for this subwoofer). Lowering the tuning frequency by a little is a good thing in my opinion! I certainly wouldn't do this to a studio subwoofer though, since those are precisely tuned and very expensive. So, here are the pics: Before: Next step is to unscrew the driver from the cabinet. It is much easier to mask off just the driver than the entire cabinet, especially since the subwoofer needs to lye flat for painting, and you would need to find some way to prop up the box so the connections and controls on the back don't get damaged. Be careful when removing the subwoofer, it takes a bit of prying around the edges to unstick it, and when its out don't let it fall or you may damage the wires it's connected to. You can disconnect the wires by pushing the little metal tab with a small screwdriver. Here is the driver: After this I masked off the dust cap and rest of the speaker with masking tape and some newspaper. Then I got to painting. This process is shown better in the video, I didn't take any pics while masking or painting, so if you're interested to see that I will have the full video up on my youtube channel this weekend. No advertising here, so if you want to see that you will need to go find the link yourself on my profile info. Painted cone: Looks pretty good some of the overspray on the edges of the dust cap I was able to remove with a small flathead screwdriver by just scratching it off. And here is the final product: Success Finally no more orange coloured subwoofer in my white and black setup! I have tested it and it sounds just like before, no damage done. Let me know if you have any questions, and thanks for reading
-
 Hey guys, Does anyone know how I could go about covering up the annoying bright red heatsinks on the ASUS Z170i Pro Gaming motherboard I'll be getting soon? I'd like a solution that I can "undo" if I ever need to send it in for warranty. I'm considering plasti-dip or vinyl wrap (like the carbon fiber stuff) - in both cases, only applied to the red parts of the heatsinks. Are either of those a good idea? Which would work better?
 -
I was gonna do a Sharpie design on my H440 but due to time it wasn't possible. Then went to Plan B and decided to do a pretty Teal on the case panels. Before What i used for the project:
-
Hi there, I have this plan to spruce up my rather dull looking case with red UV lights/fans and just generally give a cool red glow to the whole system. I want to find a CPU cooler with a top down or "downdraft" design so that you can see the fan spinning while the PC is lit up and running. There are a few other restrictions however; 1. The cooler must perform at the same level as an AMD stock cooler or better. 2. I won't be overclocking. So don't worry about outperforming the stock cooler too much, 3. $80 to $100 maximum, but I watch Scrapyard Wars so the cheapo option is always welcome. 4. The fan MUST be removable as I intend to paint it with red plastidip + metalizer for a little sparkle (without doing something as stupid as gluing glitter to my heatsink). That's pretty much it. In case you were wondering, the case is an AZZA Cosmas 208S, a very meh case in every sense of the word, but for $20 I can't really complain and the CPU is an 8320. All suggestions are welcome, so gimme dat input interweb!
-
I bought a EVGA Titan X SC, after a few weeks of usage, and being limited by the temps of the card i decided to buy the EVGA Hybrid kit, to watercool my card without going into a full custom loop. However EVGA has been for MONTHS out of stock of the Titan X Hybrid Cooler (as well as all the other hybrid kit for 980/980ti). I however manage to be at the right spot at the right time on Evga website and saw the 980ti Hybrid kit available, being compatible with the Titan X i jumped on the occasion i bought it right away. I received it a few days later, and the temps were amazing! I really recommend this kit for whoever wants to watercool a card without going full loop ! I'm sitting at 45 degrees under full load on my card ! There was only one problem, i didn't the appearance of the 980ti shroud, the color isn't that nice and obviously it is written 980ti on it... So i decided to paint the shroud to make it look like a real Titan X. I went for a Matte Black Plasti Dip paint and after 5 coats of it this is the results ... I am really pleased with the final look of the card, finally back to the black Titan X, gone is the 980ti name and the backplate makes it even nicer ! Using the same paint i also modded my Corsair Vengeance Pro ram stick, i painted only the top metal piece that used to be red. This was my first ever mod to one of my components and i would say it was definitely worth it and looking forward to paint other stuff (Looking at you XPower AC motherboard, your yellow look is out of my theme...)
-
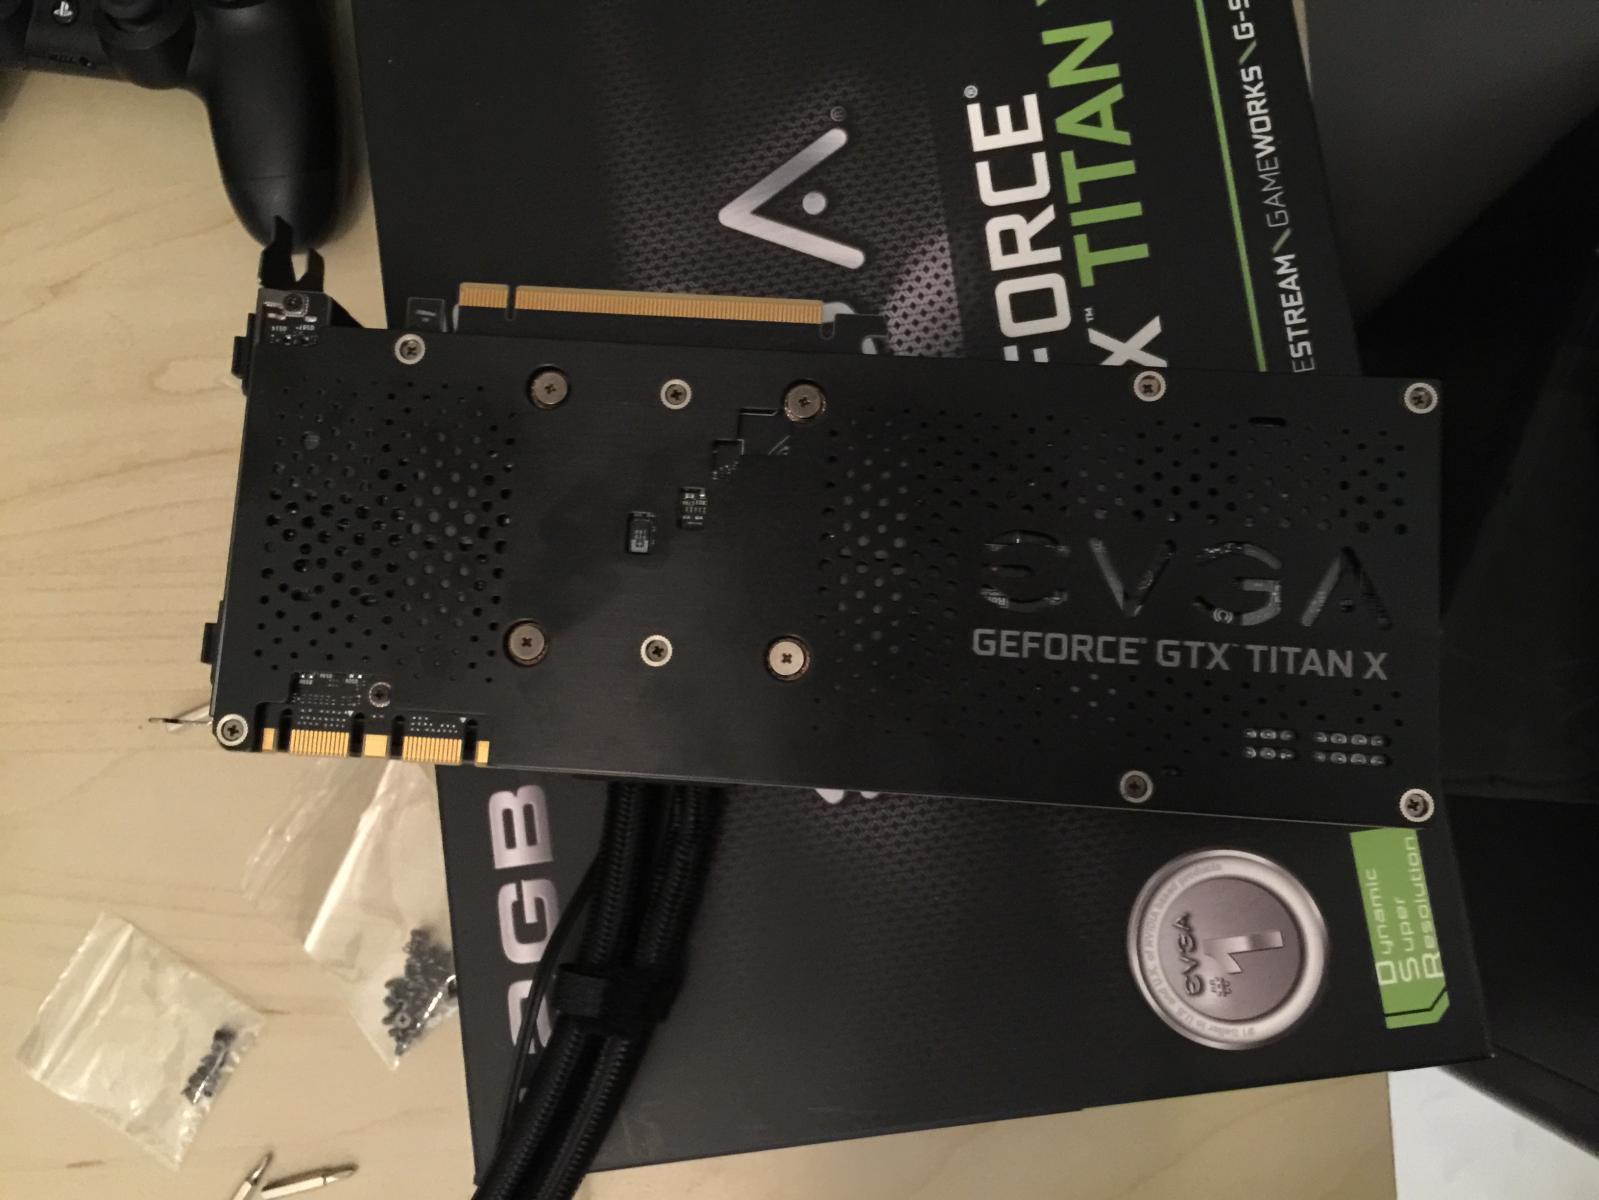
Hello Everyone! So I really have enjoyed using my Scarlett 2i2, and really have had very few complaints excpet for one thing. The colour. Not that it is bad, but it really didn't suit my setup colour, so I decided to do something about it. I decided to use Plastidip to paint my 2i2, so if it didn't turn out that well or I wanted to go back to the red on the brushed aluminium, then I could easily remove it, but I have to admit I am happy with the result. Here is my video tutorial of how to paint it, and I will also post a couple of pictures of how it turned out. Thanks for reading, and hope you learn from my mistakes if you decide to paint your own 2i2!
-
Hi Guys, The result of my first attempt painting my GPU using PlastiDip. Cheers!
- 39 replies
-
- 22
-

-
'Ello! so i have this here case: i already did a tiny mod where i placed the radiator on the outside of the case, tough now i want to take it a bit furter and paint my case white. tough how would i go about doing this? i was kinda leaning towards plasti-dipping the thing, tough if anybody knows any good paints that would be really appreciated too! basically, any and all advice is welcome. Thanks in advance!
-
Title! I've been trying to find one buts its been nearly impossible.
-
Okay guys, wanted to run this by you before actually trying it. we've all cringed at linus repainting this crazy expensive motherboard, but let's say that i'm happy with the color of my motherboard slots and I wanted to paint everything else like this guy did right here. yes, I have read the comments on the page, but I still want to hear what you have to say ! Watch Out for my mod log in the build log section comming soon, it's called Lugia thanks in advance guys !
-
Hey, I was wondering if I updated my ASUS Bios to the newest version, would the chances be high for my old 32gb Ripjaws X (don't worry I edited back then and the ram was only $150 for 1333) when I first bought this build to be compatible? In 2012, my build was up and I had no knowledge why it wasn't booting. It just kept powering on, then off, repeating for the longest times. It booted sometimes when I clicked the memOK button, but it would BSOD after a while. I fixed it by buying 16gb of vengeance ram, but I really hate the heatspreaders as I'm getting an H440 (white/black) soon. I would also like to ask a couple of questions. 1) Do you think if the Ripjaws X were to work, if I can plasti-dip it white and how would I paint the inside and outside? 2) Can I use double-sided tape for the thermal adhesive? 3) When I paint it, can I wait for the outer coat to dry and then flip it, and then paint the inside? Would it be even on the edges? 4) Has anyone ever modded the Ripjaws X heatspreaders? 5) How long does plasti-dip take to dry? 6) Would replacing the front 3 fans with NF-F12's be good, and two gentle typhoons in pull for the h100i, and finally an SP120 in the back? (mind you all of it besides the gentle typhoons will be on the noctua low noise adapters) Thanks for your consideration reading my post -ForgotCF
-
Hello everyone! I have decided to paint (PlastiDip) my graphics card the Galaxy GTS 450, for those who don't know, it's one step above the Titan Z... not really... it's quite the old graphics card, but it surprisingly works well! Anyways, i'm painting the shroud white to match my case (NZXT Phantom 530 White) Part 1: Pre-Paint Photoshoot Part 2: Disassembling The Card Removing heat sink screws Heat sink removed! Heat sink its self Fan removed from shroud. Part 3: Onto Painting! Good ole' plastidip! First Coat! Second Coat Coat... i forgot, but it's one of the last ones... Part 3: It's Done I hope you enjoyed the mod! feel free to leave comments of what you think!
-
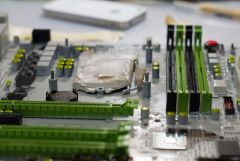
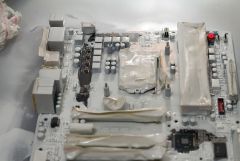
Hi guys! This is a build log about a build i started about two months ago. The goal with the build is to create a clean looking computer for both gaming and 3D graphics which im currently studying. This build will go in the color scheme, Green, White, Black. Featuring a Plastidipped motherboard, watercooling using rigid acrylic tubing, sleeved PSU and a delided processor. Check Pictures for more information. Components: MSI GTX 780 Intel i7 4770k Delid Gigabyte G1. Sniper m5 Corsair Dominator Platinum White Fractal Design 630W PSU Fractal design Define R4 White I will be watercooling using two 280mm radiators To Do List: Sleeving the PSU (DONE) Plasti-dip motherboard (DONE) Choose watercooling parts (DONE) Install watercooling (DONE) Create custom Chassi mod (DONE) Delid Processor (DONE) Sponsors: Corsair is sponsoring this build with Two neutron GTX 120Gb SSD Drives, Dominator Platinum RAM and all around of their awesome AF 140mm Fans. Aquatuning is sponsoring this build with a Alphacool 280mm radiator Sleeva.se provided the sleeving for this build Apperance Goals: I am going for a really clean look, with a White motherboard and with bent acrylic tubing with lime green coolant. Cables will be kept to a minimum and will as much as possible be hid behind my motherboardtray. HDDs will be mounted behind the motherboardplate, which i got a mod for. The Neutron SSDs will be mounted visible in the chassi. I am using a cylindrical reservoir, which also will be mounted visible Updates: I finally Finished my project! The sleeving was harder to get straight then what i thought! since my Sataports are filled up there are almost no room for a clean run But i'll let the images speak for themself! Big Thanks to Corsair, Sleeva.se and Aquatuning for their support in this Project! you made it Awesome! Thanks again! Now it's time to start planning for my next project which i hope will be finished by Dreamhack Summer 2014! it will be a VERY special one, so stay tuned! Best Regards Oskar Wallin
- 84 replies
-
- 10
-
-
- 4770k delid
- r4
- (and 4 more)