4rtex
-
Posts
29 -
Joined
-
Last visited
2 Followers


Recent Profile Visitors
1,049 profile views


4rtex's Achievements
")
-
Some new photos:
-
It's called laser cutting or punching. For those of you guys who will have a chance to visit Insomnia55 in Coventry UK, my case will be there at OverclockersUK stand.
-
Few more shots:
-
Little update:
-
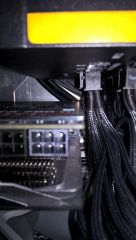
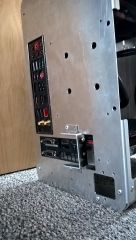
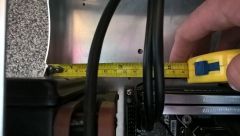
To follow a little issue with power supply cables (photo above) being bent, because they are too close to graphics card. I have realized that some power supplies have sockets further away from its fan which is better. My AX760i psu has all sockets situated near the fan. My RM650 psu has it opposite. See picture, no need for bending cables.
-
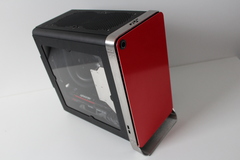
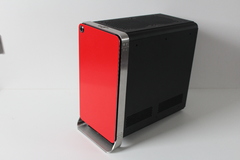
Thanks man! Thank you It's great to be honest. You just make it all your way, it doesn't have to look like majority of them. Little update. Got some fronts painted. Went for Red first, because it's the fastest
-
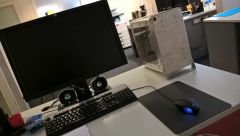
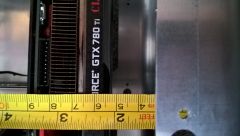
Right, so I tested it. I came across few issues. 1) SFX power supply - cables are way too short for clean install. There are extensions available, which I will be trying in future, but even with these cables I wasn't able to plug my 780ti card as I was short of 1 x 6 pin connector and I didn't have any sort of SATA>PCIE adapter. I had to try my AX760i psu. 2) New PSU mount restricts some cable routing behind power supply, The shroud will have to be slightly redesigned so I can hide all cables behind it. 3) To put everything right I had to follow this fitting sequence: mount psu to bracket, mount psu in with bracket in place, plug extension cable, mount fan over psu, mount fan next to it. Nothing really wrong, but If you have to take something out, it may be a pain. 4) PCIE power cable could be A LOT shorter, like 1/4 of the length. I had to cram them behind GPU 5) As I lowered the PSU mount by literally 3mm down, it got really tight at the bottom and big cards like this kingpin struggle slightly for clearance, cables had to be bent. Apart from these, I'm overall quite happy with how all of it went in. I will be looking out for even shorter PSU, like 150mm long for extra 10mm clearance which will help a lot. If I had thinner fans I could lift this PSU up by extra 10mm which would help - mounting points are there already. Front USB ports work like a charm, VERY handy to have it Performance wise - I have started this with 4 fans in total. I was expecting temps on GPU to be higher, but they weren't. Maxed Kingpin out at 74 degrees C in Valley. which isn't bad. I have noticed that it just takes longer to cool down. I also noticed that with Window panel, there is a lot more hot air coming through the top. Checked Heaven benchmark and BF4 as well, Couldn't get GPU or CPU over 74 deg C. While GPU maintains steady temp with window panel, CPU is higher than previously. Must me less cold air entering the case. OK guys, I hope you enjoy couple of shots. I have to tidy up a bit in my room now.
-
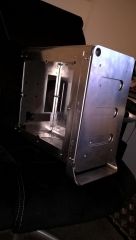
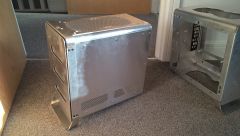
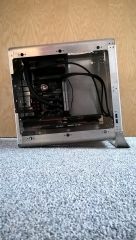
I have nearly assembled one case. Silverstone SFX power supply in place:
-
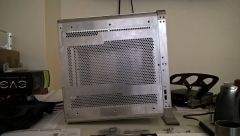
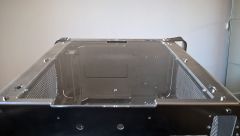
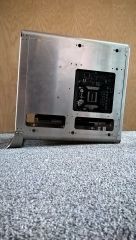
I tested perforated panel today, the one for my regular rig.
-
I think it is Thank you I had to buy new 90 degree countersink as well today. Hopefully I'd be able to assemble this properly by the end of the week. Some photos: At work:
-
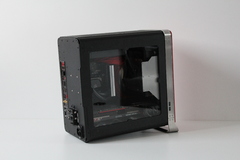
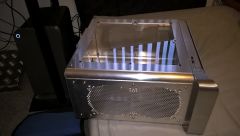
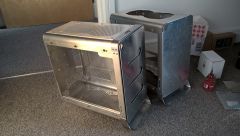
Side window test to see how latches work
-
There ya go!! :D H60 isn't good enough
-
Why would you choose unlocked cpu for not so much cpu oriented aps? Games will make it sweat.
-
I meant the H60, I used it myself and had to switch to H80i