Madidus
-
Posts
15 -
Joined
-
Last visited
Madidus's Achievements
")
-
I want to try a Dreamcast or a PSOne, but I dont thin there's room to fit a video card inside one of those.
-
Thanks for the support.I've been wanting to do a NES build for awhile but was unsure how to start. I definitely didn't want it to turn out like some of the other builds I've seen(via Google search) where it was left rough, didnt fit back together or wasn't able to play games. I had started working out in my head of what I wanted to do but then after seeing what you did and what Noxz is working on it inspired me to take the challenge. I do want ports on the back, I don't want to hide the PC. I want to add USB to the front and hopefully, if I can keep cooling under control, put a bluray drive in the unit as well. I didn't want to use a pci-e extender, as I didn't want the gpu crammed up against the cpu fan on top of the unit. Which really only left 2 video cards to choose from. In the end, while they serve the same function I'm trying to incorporate my own ideas and features that it will be a different take on the same concept.
-
I don't think I'll need to go with liquid cooling because I won't be doing any over clocking at all. After this one is done I may build another and go hog wild though.
-
Has anyone out there worked with simulated carbon fiber sticker sheets? More specifically tried to wrap a sheet around corners. I'm thinking abound giving the bottom half a carbon fiber look. Does anyone have a good idea how to do this or has seen it done in another build? If there was a heat shrink wrap that could be applied that would be awesome.
-
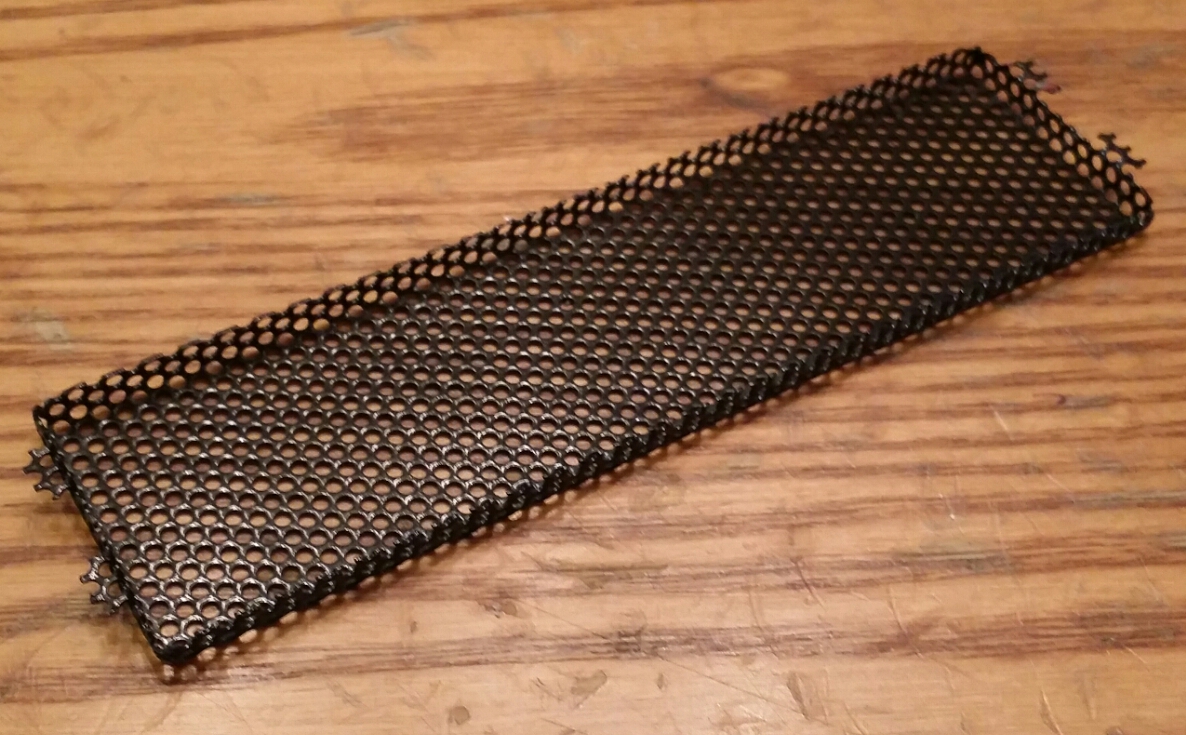
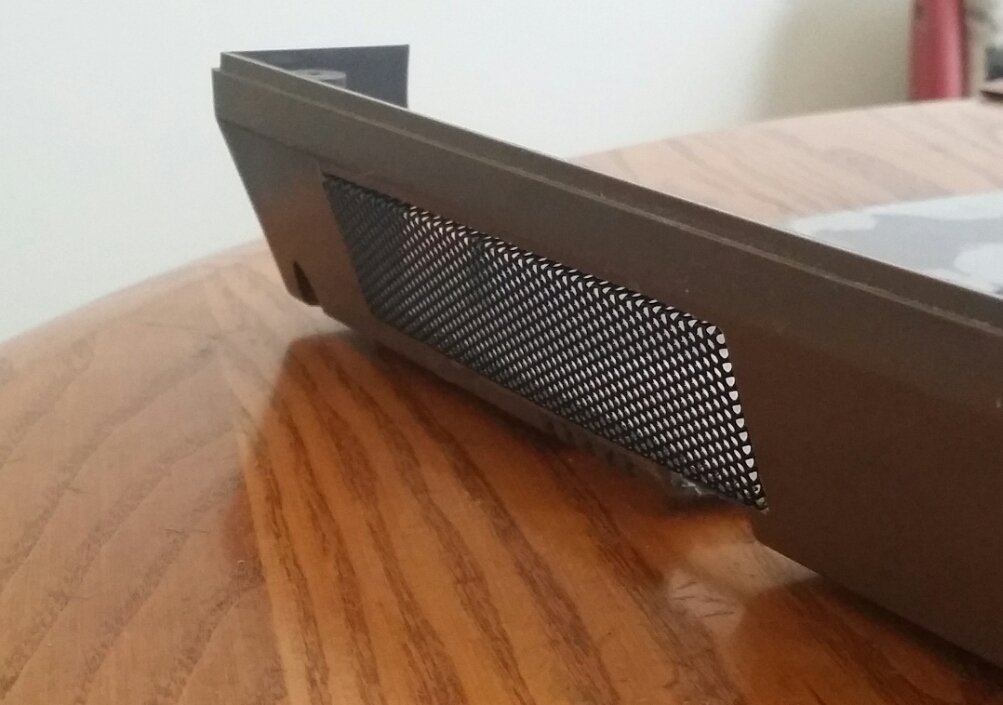
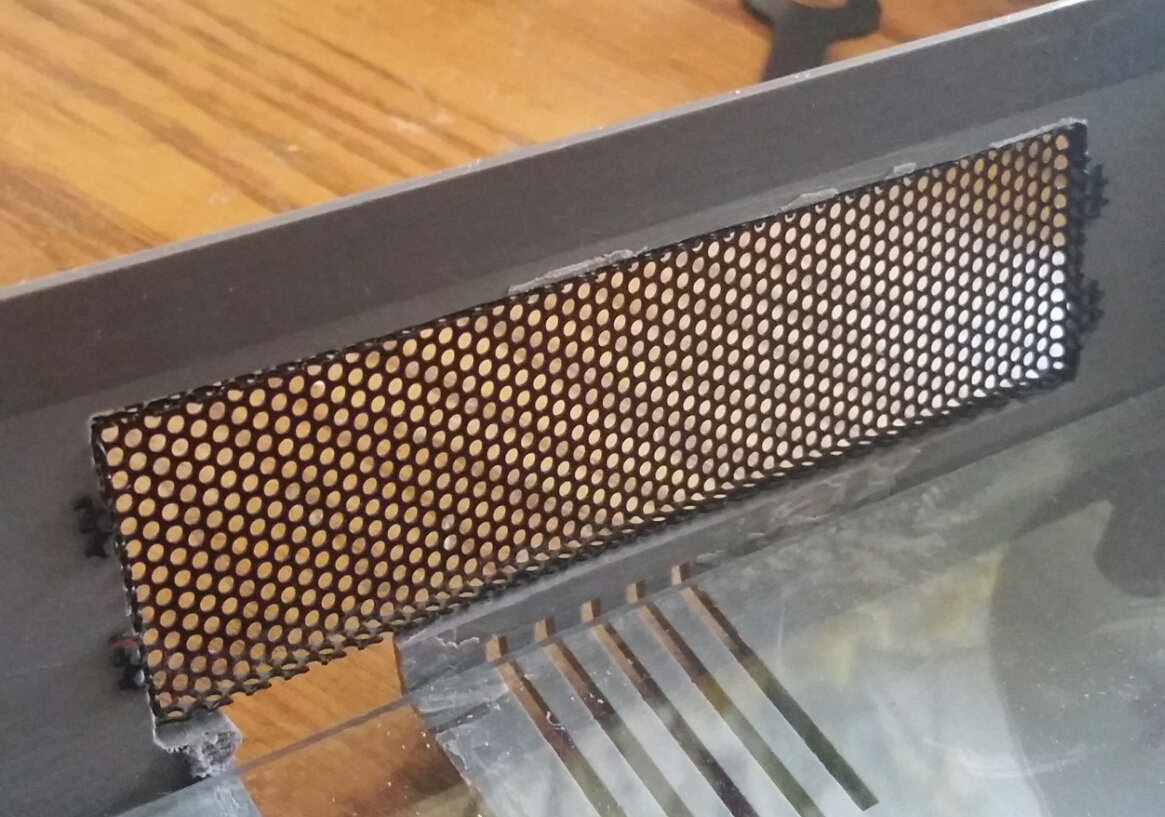
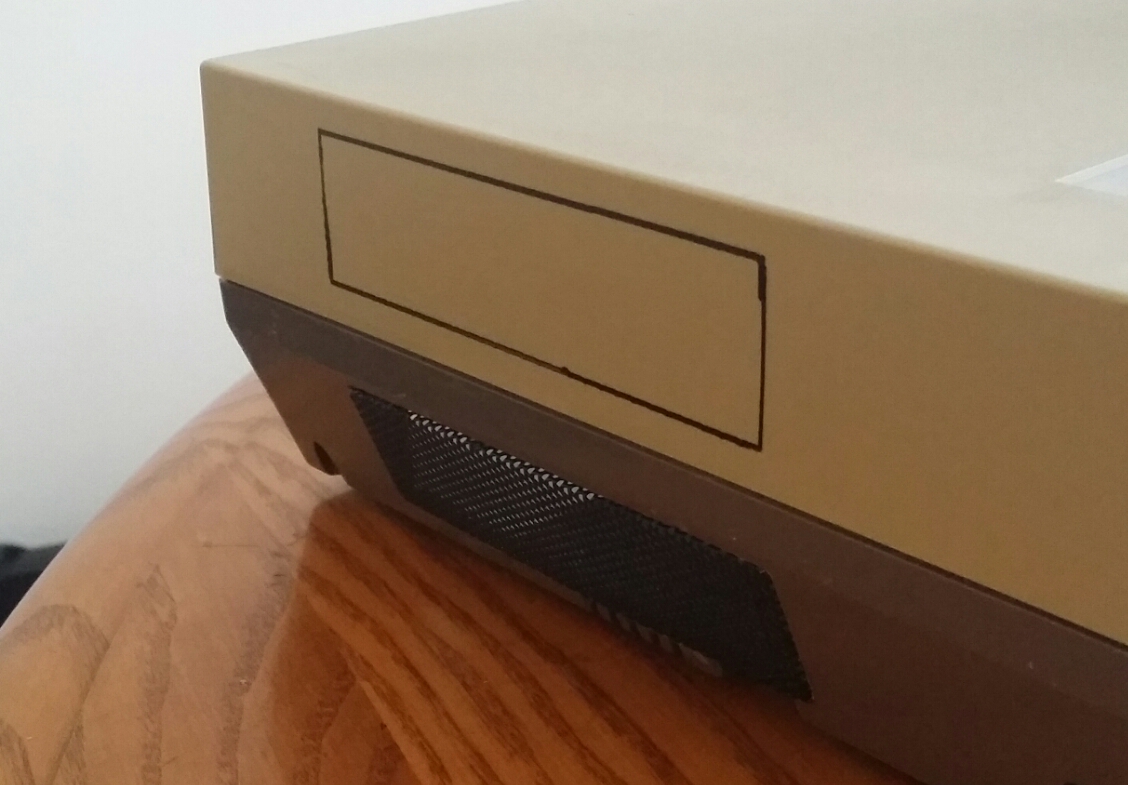
I've started working on some side vents to help push out hot air from the video card. I'm using some mesh I have left over from another build. Here's the rough cut on the bottom side. Here's another shot from the inside. Here it is with the top half on. I'm planning on having 2 vents on the video card side, and one on the bottom of the other side. I haven't decided if I'm going to add a vent to the top rear to help direct air flow for the cpu fan or not.

-
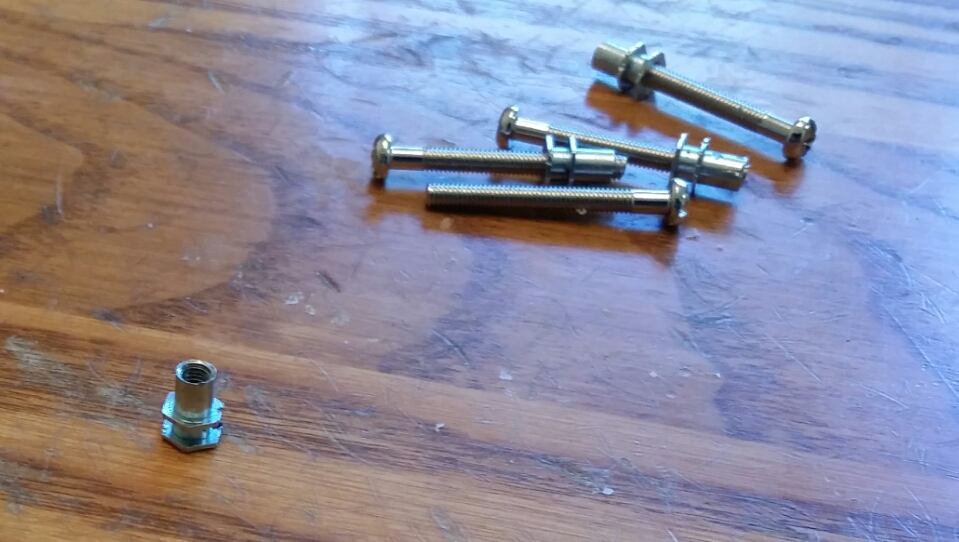
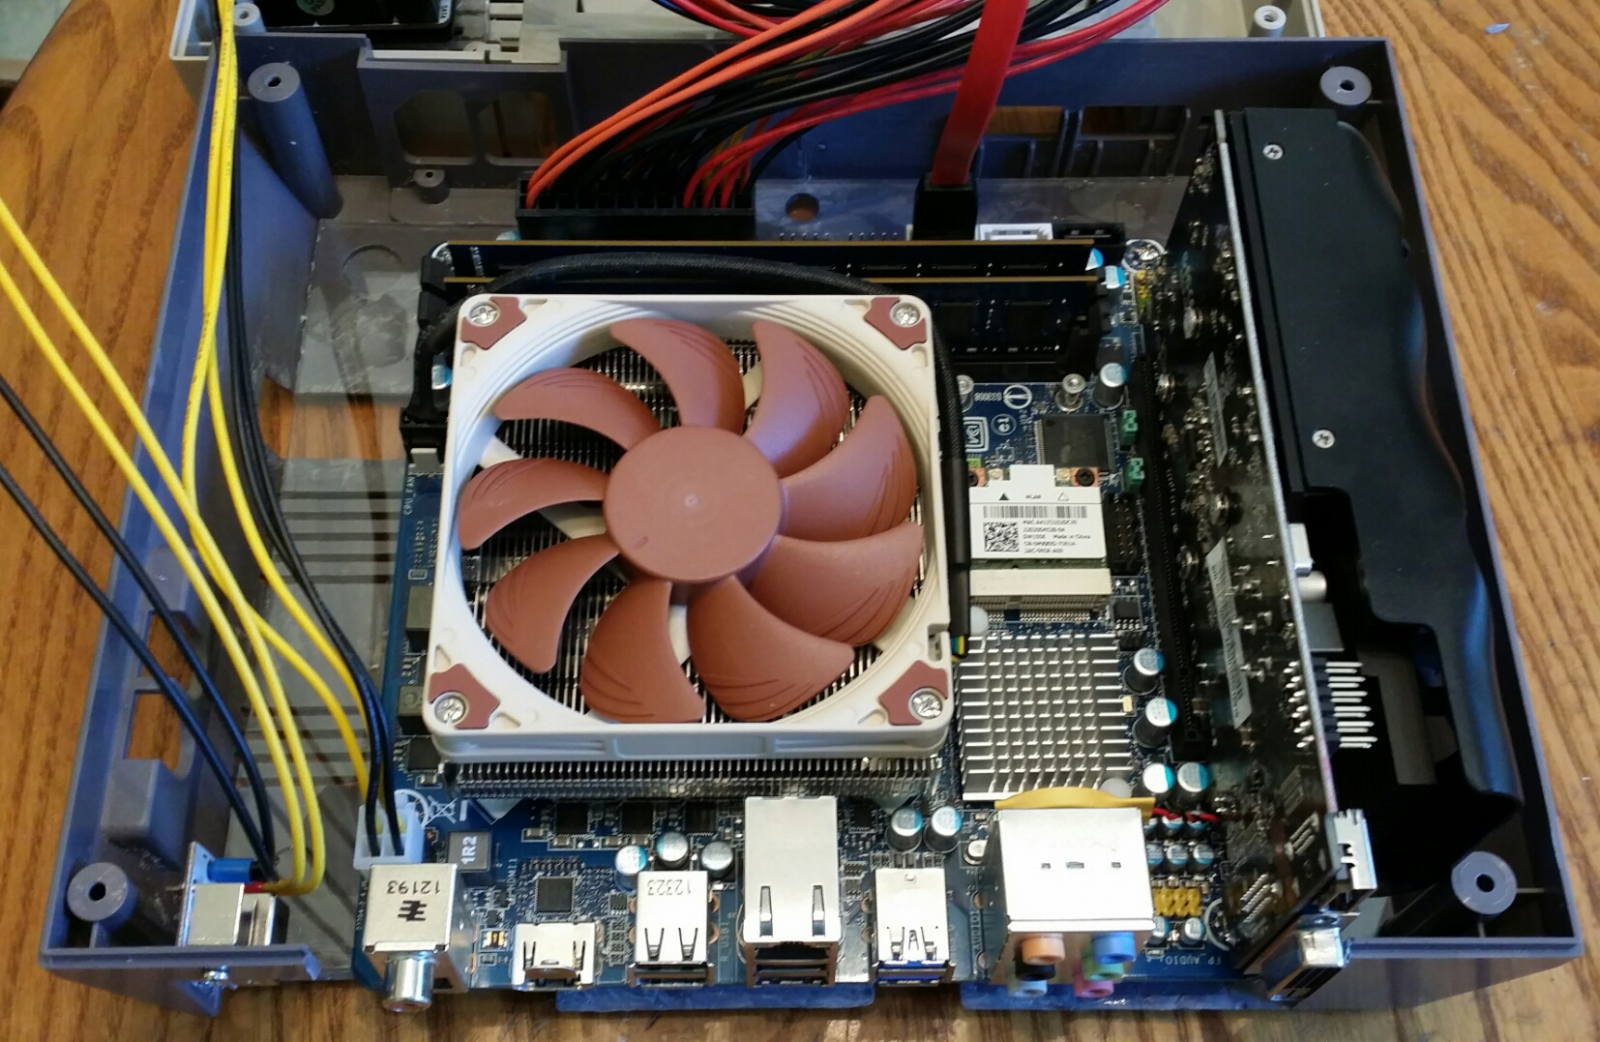
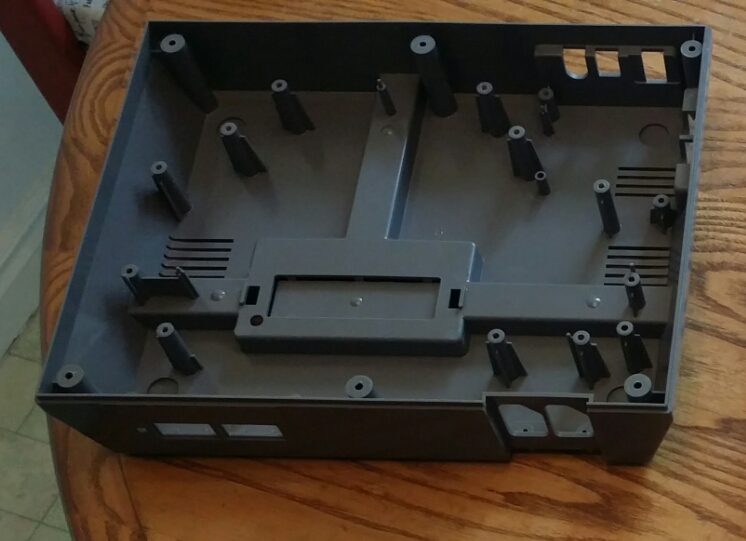
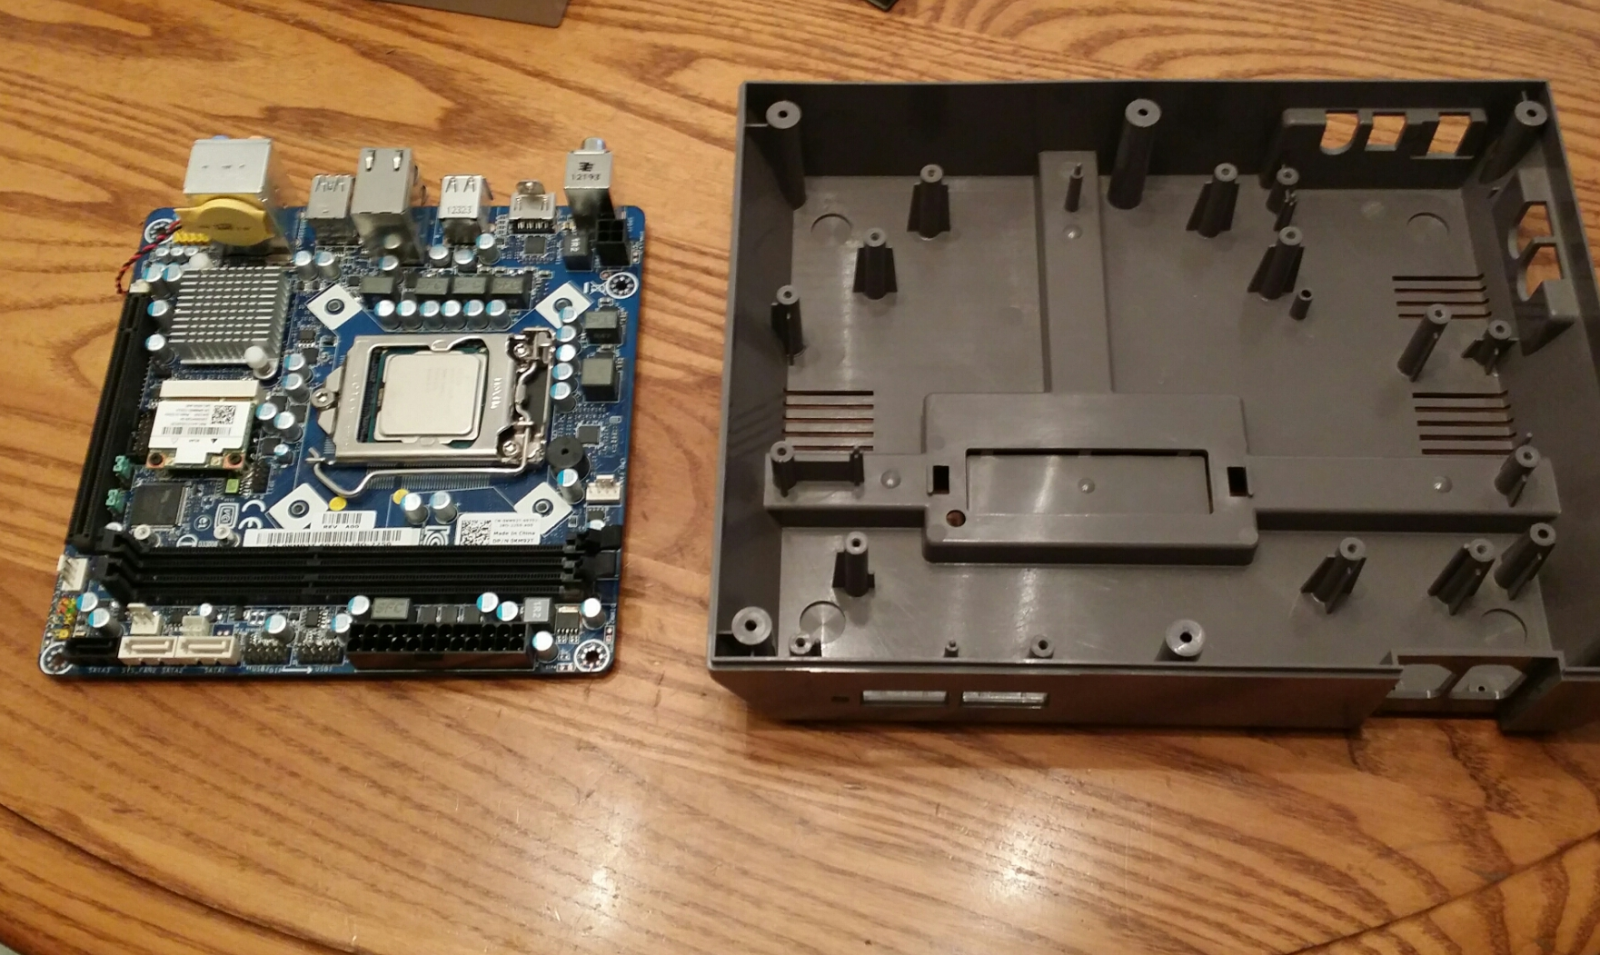
In order to get the Noctura to fit on the old Alienware motherboard I had to remove the CPU mount and remove the old cooler botto2m plate which was attached with double sided adhesive tape. I then broke apart the bottom plate to get the mounting bolts out of it to use as low profile stand offs. Here is the bottom of the case before any cutting is done. After cutting out the bottom with a Dremel I used some epoxy to glue a sheet of lexan to the bottom to reinforce the case and give a good surface to mount the motherboard to. Then I marked the lexan to drill holes for the stand offs. I will be using bondo to smooth out the bottom of the case. Here is the end result for the stand offs. And here is the motherboard mounted into the console. Everything fits so far with plenty of clearance above the cpu fan. I will be making a plate for the back to finish the back of the unit so there isn't a rough cut hole on the back of the console.
-
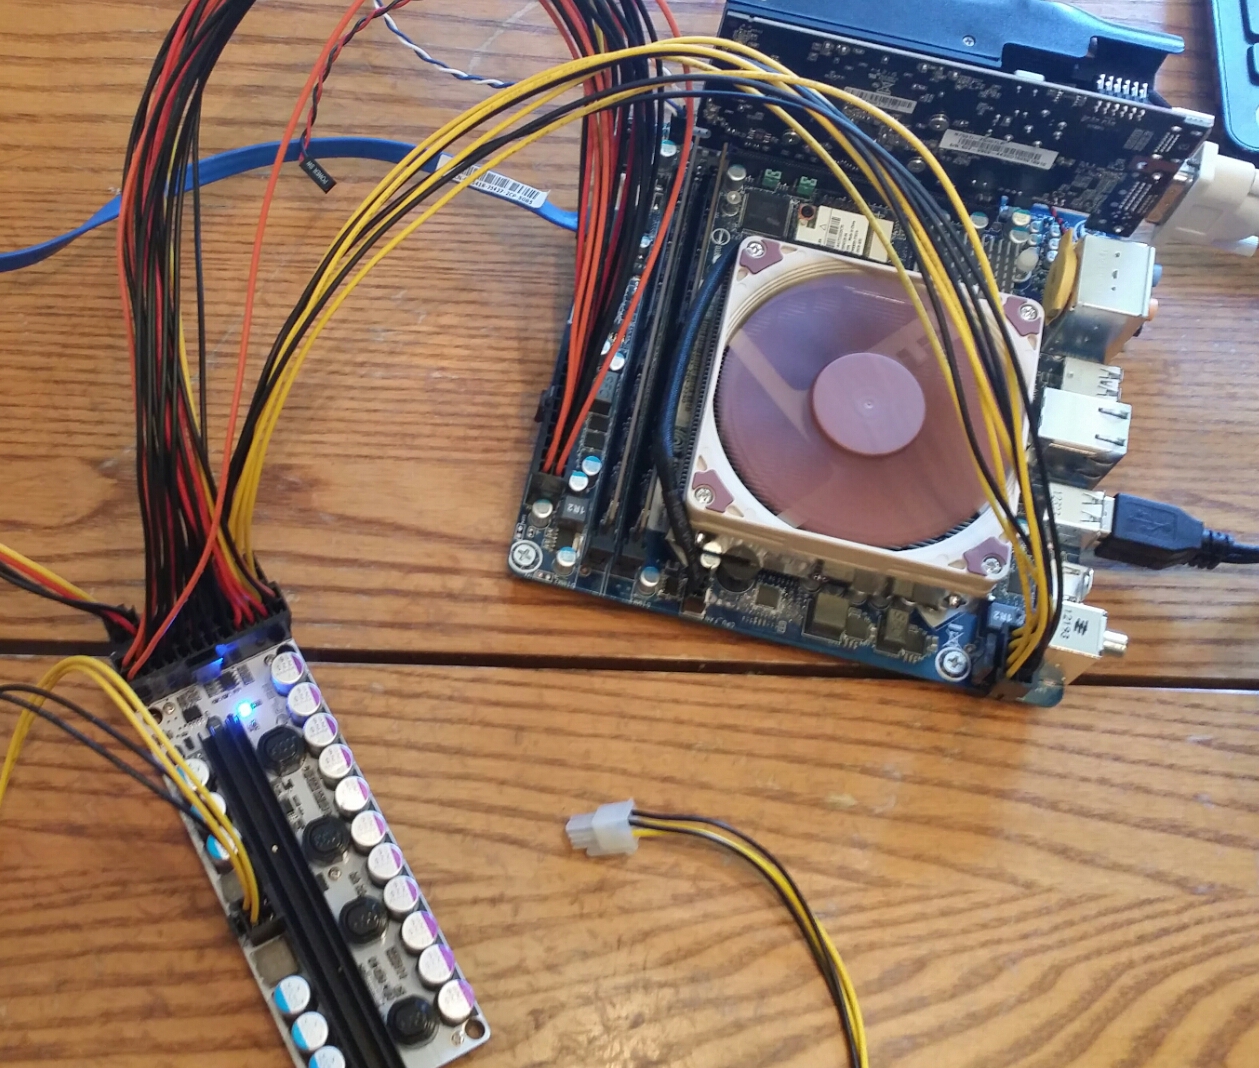
Here's some more details on the parts inside the NES. The CPU cooler is a Noctua-nh-l9i. The GPU is a MSI GTX 750ti low profile card The psu is a HDPLEX 250W DC ATX and a Flextronics 240w power brick. I bought everything new. I was able to pick up the power brick on ebay for $35, including shipping.
-
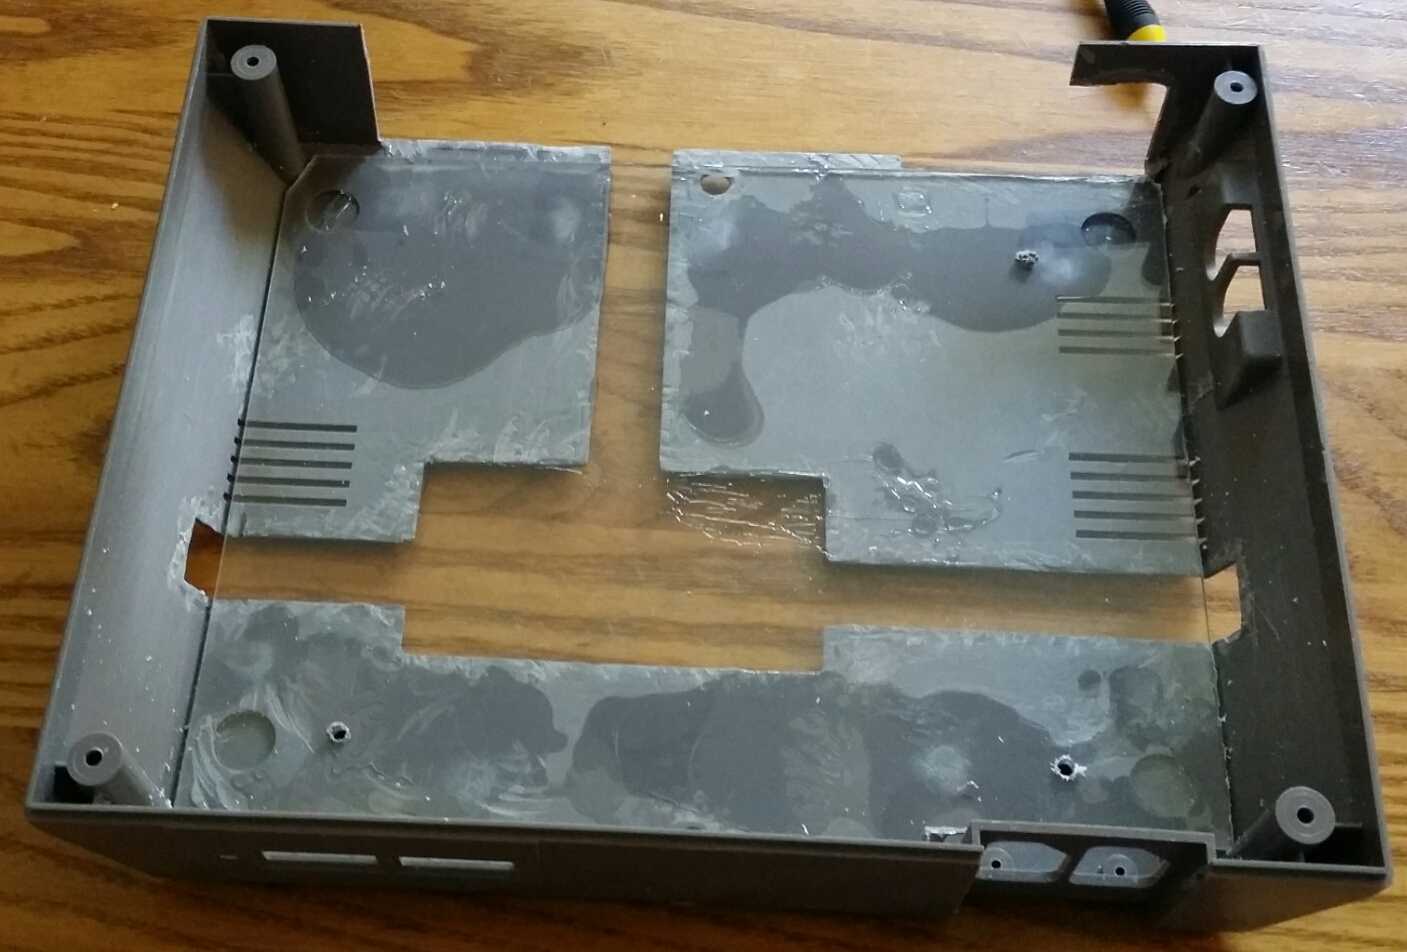
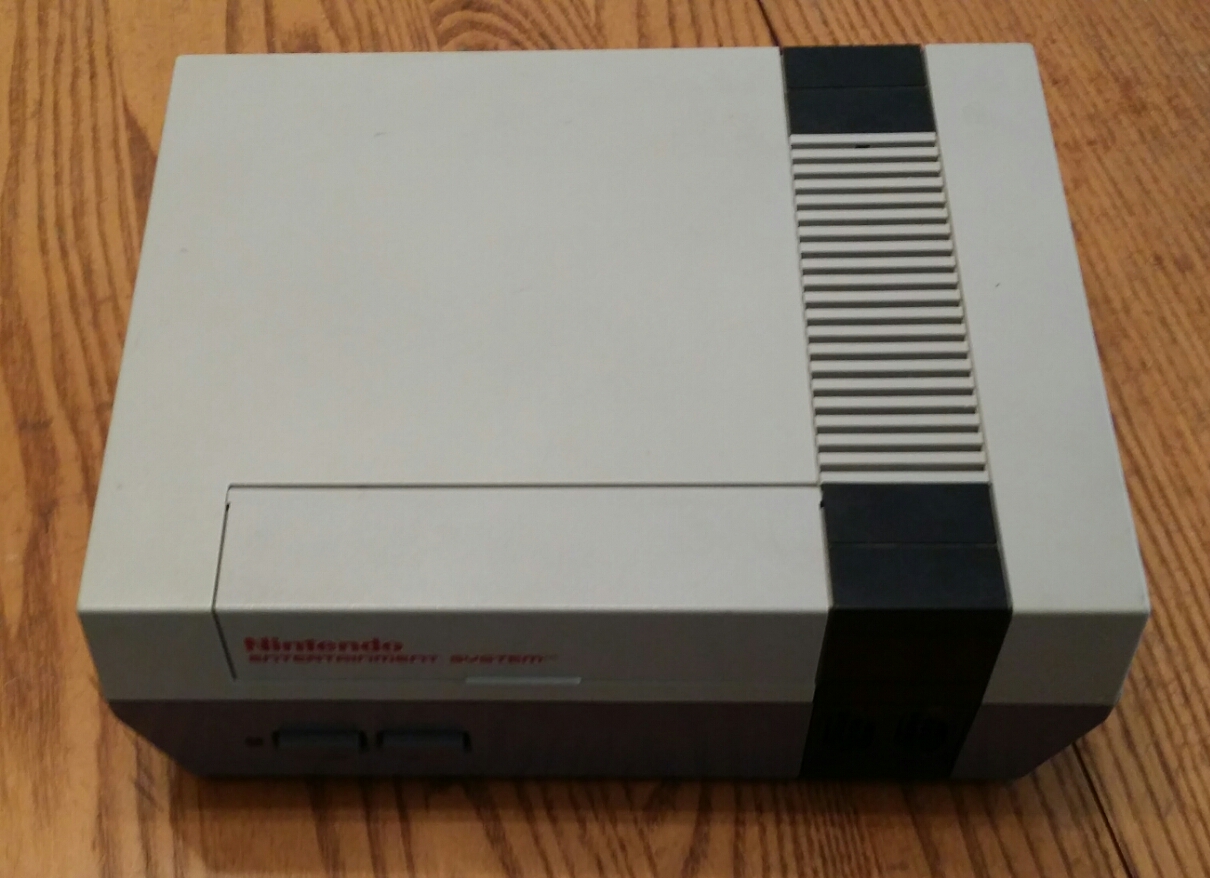
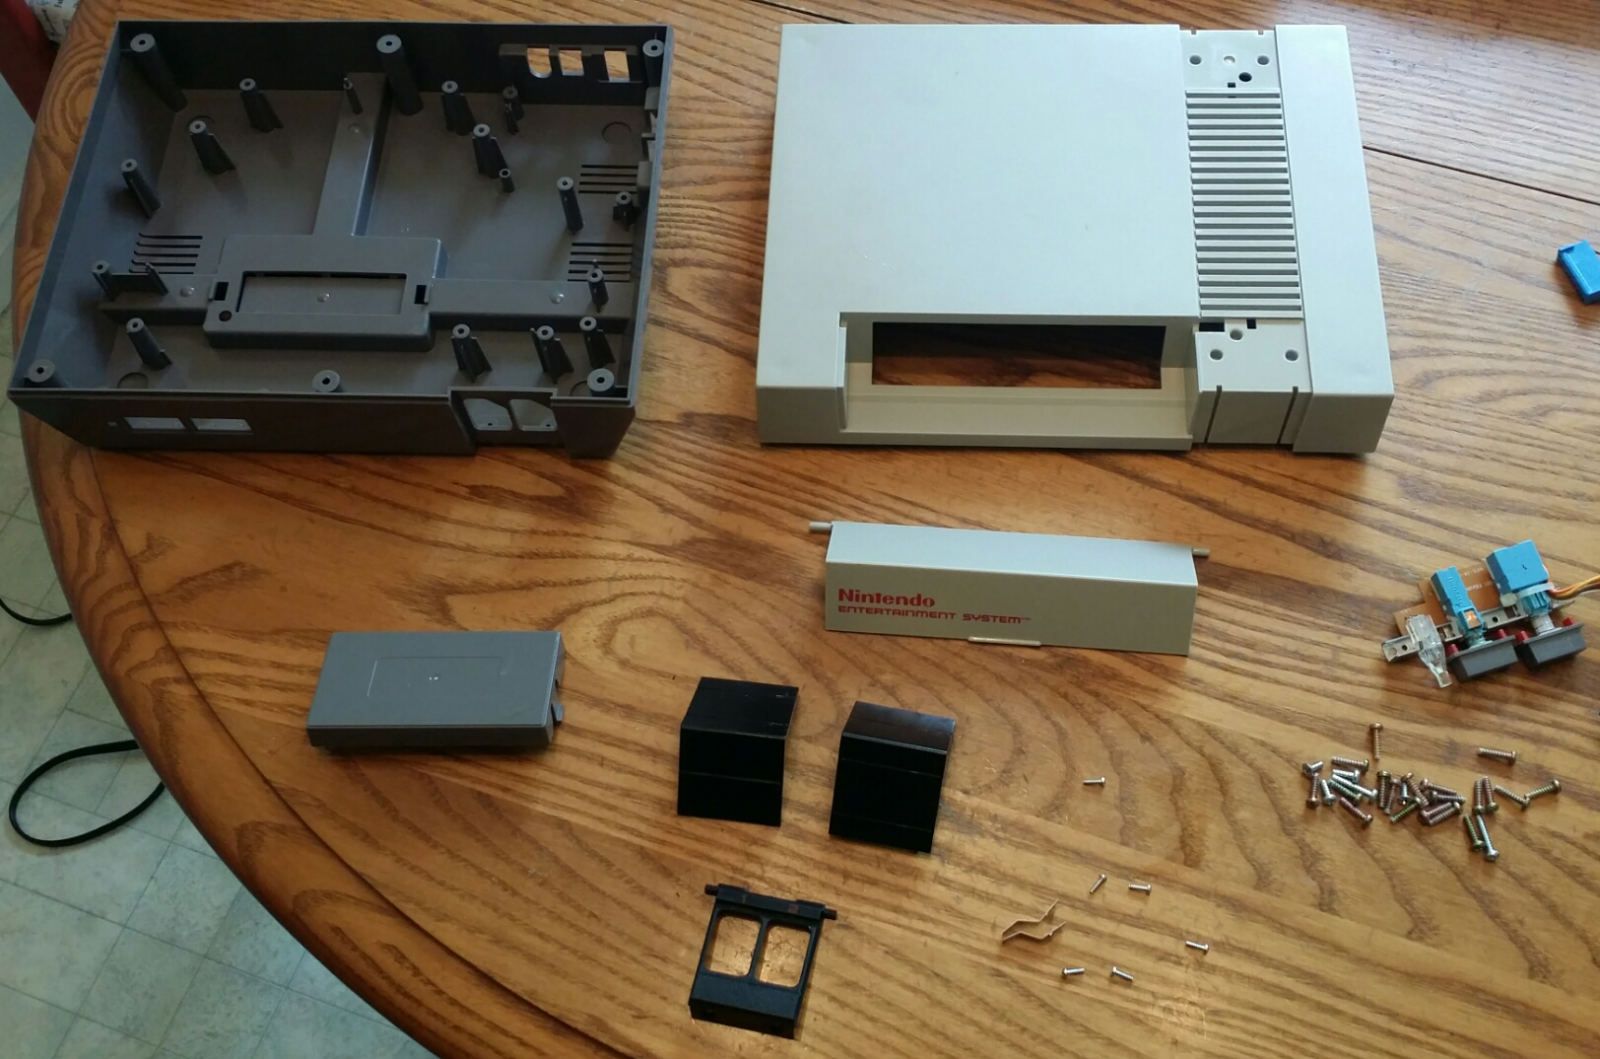
Here is one of two donor consoles. There is a local vintage gaming store here where I live who sold me 2 broken NES consoles for $2.99 each. I bought 2 so I can have one to practice on and if needed, a backup if I ruin something. For $3 each I wasn't to worried. Lid off, in case anyone wondered what the inside of a Nintendo looked like. Inside where dust bunnies older than my wife, lol. Everything stripped apart and clean. Now that the easy work is done the next step is to start carving this turkey. Here is the motherboard and CPU from the donor x51. I got really lucky and found this x51 at a Deseret Industries, which for people who don't know is the LDS version of a Salvation Army. I like to wander through every once in awhile to see if I can find anything cool and this was sitting by the other PCs. The front plate was missing, the side cover was gone and it was missing the power supply, drives and video card. However for $10 I was hoping the memory or CPU still worked. After hooking everything up it works. I had to post over in the troubleshooting, apparently the HDPlex comes with a cable that perfectly fits the CPU power on the motherboard and the psu, but must not allow enough power to boot up. Now to just get everything into the NES.
-
Greetings everyone. This is my first build log here and I hope everyone enjoys it. I'm posting here to both share what I'm doing and hopefully get some insight and advice on how to improve what I'm doing. While this is not my first PC build, it is my first custom case build and the first time I've done a small form factor build. The goal of this build is pretty straight forward,... to put a PC in a Nintendo console. I want to be able to use the system to play ROMs, stream content and play the occasional PC game. I'm not looking to play on ultra settings. I'm also throwing around the idea of adding a slim Blu-ray player as well. The main challenges I see for this build are: 1. Fitting everything into the NES 2. Keeping the system at a reasonable temperature under gaming conditions. 3. Keeping the build clean and professional. When I'm done I want the NES to maintain its original look, with a modern update. With all of that said, I have already been working on this project for a couple of weeks and have most of the parts already. I lucked out and got ahold of a mostly stripped Alienware x51, which I salvaged the motherboard, cpu and memory. The basic parts in this build include: i5 3330 cpu 8gb memory 256gb SSD GTX 750ti HDPlex 250 watt psu paired with a 240w Dell power brick I'll be posting quite a few updates to catch everyone up over the next couple of days. I still have a lot of work to do before I'm finished and I look forward to completing this build with everyone.
-

Pet peeves when it comes to people building PCs
Madidus replied to ANewFace's topic in General Discussion
While I won't call it a pet peeve, I do sigh and shake my head when someone buys an a nice case with a window on the side and when you look inside it looks like rainbow speghetti with wires going everywhere. -
It will only plug one way. The other half won't fit into the CPU power plug.
-
Apparently I was using the wrong cable for the cpu power.... I guess... The one I was using fit and was included with the HDPlex. But I used the 8 plug one that also came with it and I'm using just half of it. Which is wierd cause the wires are the same gauge... I'm not even sure if that is what the problem was. It just started working after taking everything apart and reassembling half a dozen times, must've chased the last gremlin out.
-
Absolutely nothing. There is an LED on the mobo and one on the HDPLEX that light up, but nothing happens. And the LED lights stay lit and do not dim.
-
The output on the brick is 19.5v 12.3a I've tried booting without the gpu. I don't think I can use the paperclip method, it's a fanless atx psu. HDPLEX
-
Greetings everyone, This is my first time posting here and I apologies in advance for grammar and typos because I'm posting from my phone. I've searched the forums but haven't really found an answer to my question. I think I know the answer, I'm just hoping to have it validated by someone with much more modding/building experience than me. I'm building a custom mini ITX system where space is a huge concern. The motherboard is a donor out of a stripped Alienware X51. All that was left of the x51 was the cpu, motherboard, memory and a gtx 660. I'm not using the gtx due to size. The finished product will be: Cpu- i5 3330 cooler- Noctua-nh-l9i mobo- x51 donor memory- 8gb from donor video- MSI N750ti-2GD5TLP hdd- mushkin reactor 256gb ssd For the power supply I've went with an HDPLEX 250W.DC-ATX.PSU. I have a Dell laptop power brick that is a 240w PA-9E but it doesn't seem to have enough power to boot up the pc. I get an LED on the HDPLEX and mobo but no other evidence of booting. I tried removing all components and still nothing. When I plugged the system up to my 1000 psu it booted. However, I also removed the HDPLEX from the system as well. Is there a way to test to see if there's an issue with the HPPlex? Has anyone played around with the 240w brick to see how much it can handle? Is the 240w strong enough or should I go buy one of the dell 330w power bricks that the newer x51s use? Im pretty sure I need 221w, but I'm not sure of the efficiency involved so I may only be getting 192ish from the power brick. Should I just buy the 330w brick and hope for the best?