Lost2Frostbite
-
Posts
209 -
Joined
-
Last visited
4 Followers


Recent Profile Visitors
843 profile views
Lost2Frostbite's Achievements
")
-
[WIP] Frostbite’s Phanteks Evolv White-Out Version
Lost2Frostbite replied to Lost2Frostbite's topic in Build Logs
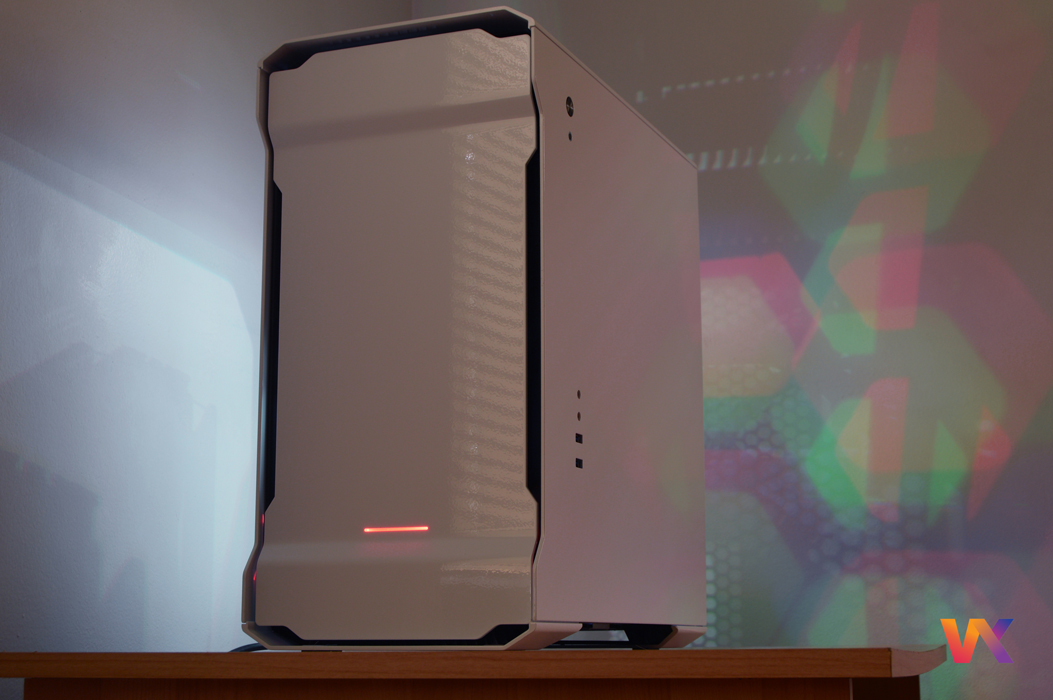
I made the original one bigger and changed the window to clear acrylic. -
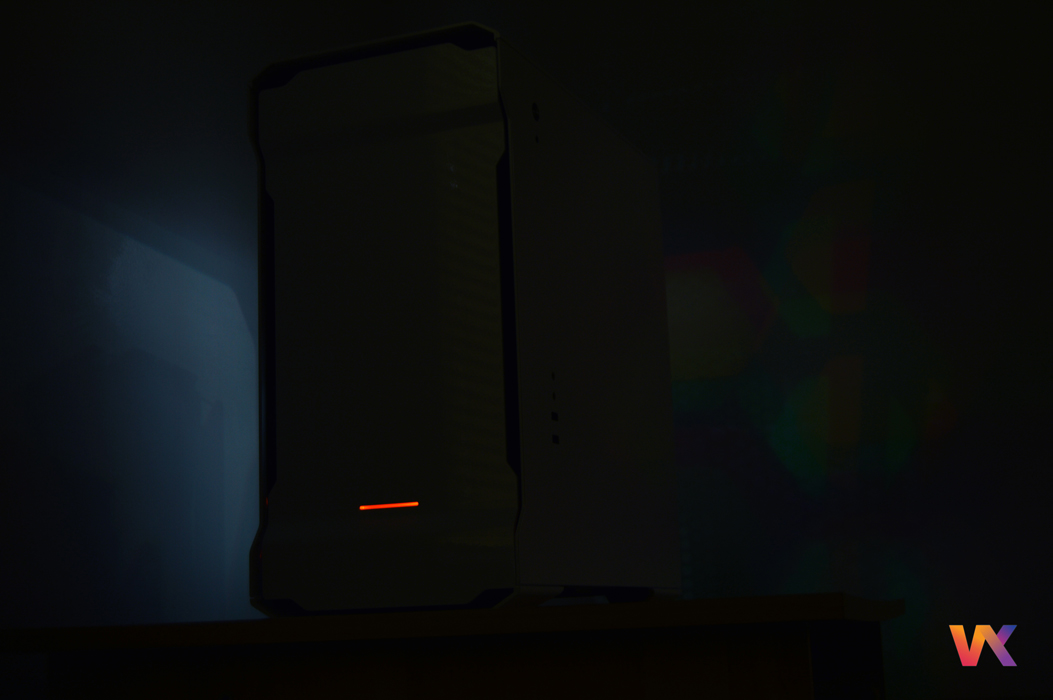
Old computer so no USB 3.0, and I ma familiar with that issue. Not the case here Which port?
-
I have an old Dell system which post to the dell screen where i can press F12 to enter the bios but the keyboard or any usb peripheral are not working. No beeping errors, I reset the C-Mos. Thanks for the help.
-
[WIP] Frostbite’s Phanteks Evolv White-Out Version
Lost2Frostbite replied to Lost2Frostbite's topic in Build Logs
http://linustechtips.com/main/topic/30316-cable-lacing-tutorial-upd-2013-oct-05/ -
[WIP] Frostbite’s Phanteks Evolv White-Out Version
Lost2Frostbite replied to Lost2Frostbite's topic in Build Logs
Perhaps 2 to 5 coats depending on the areas but everything WAS black (took 2 and half cans of paint). The process involves using a scuff pad (not sanding paper) and creating grooves for the paint to adhere. I do recommend letting it dry for more than 1 day to avoid easy scratches. -
[WIP] Frostbite’s Phanteks Evolv White-Out Version
Lost2Frostbite replied to Lost2Frostbite's topic in Build Logs
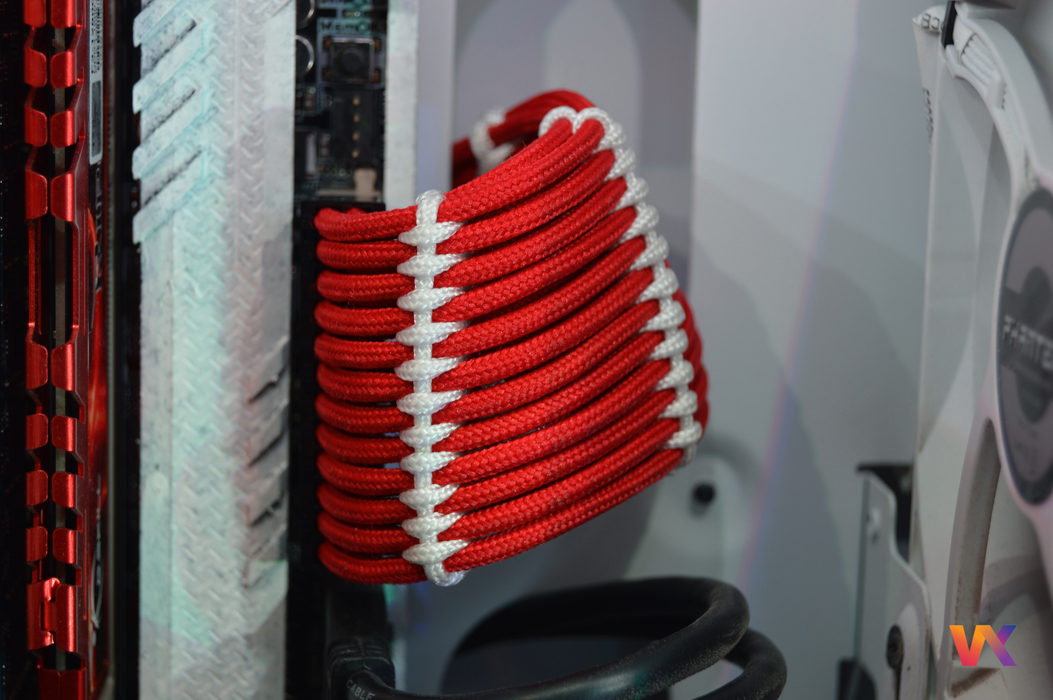
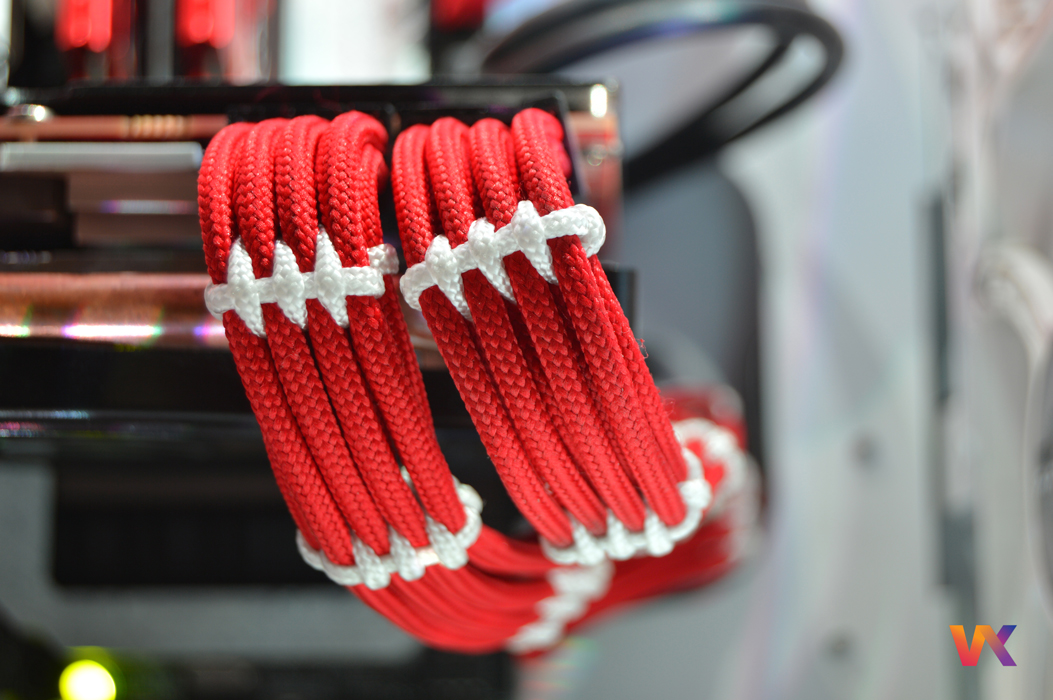
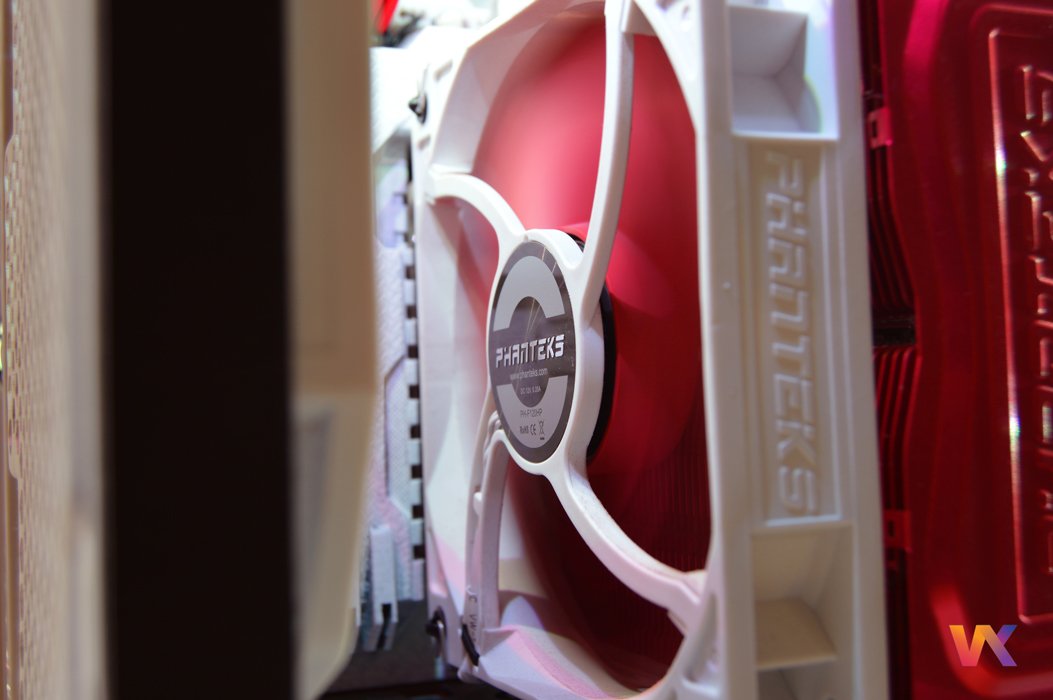
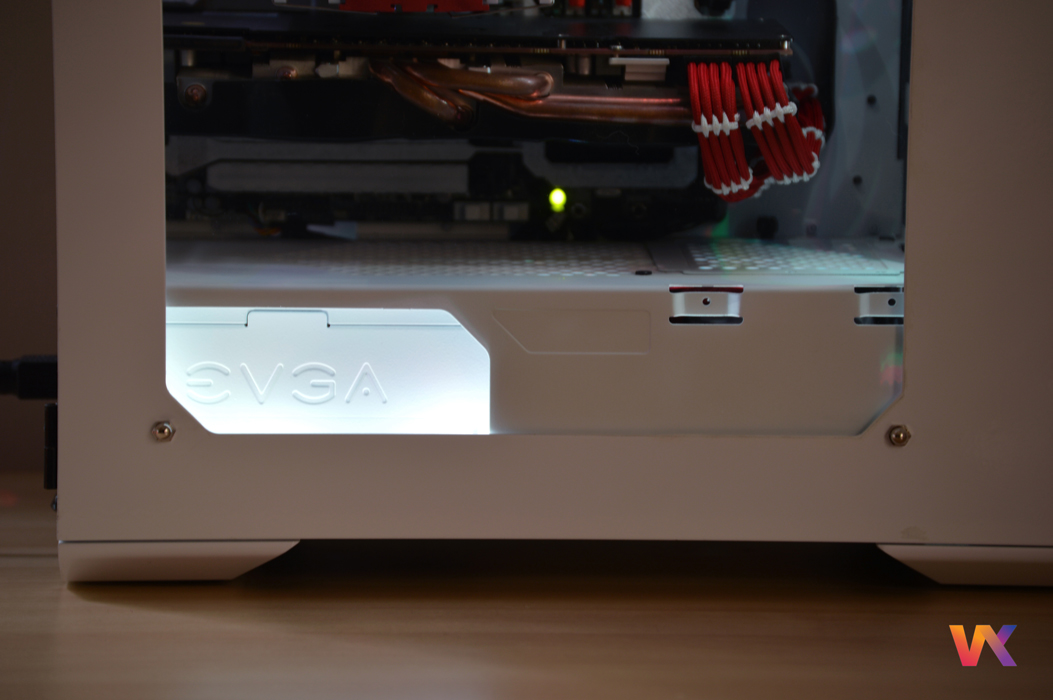
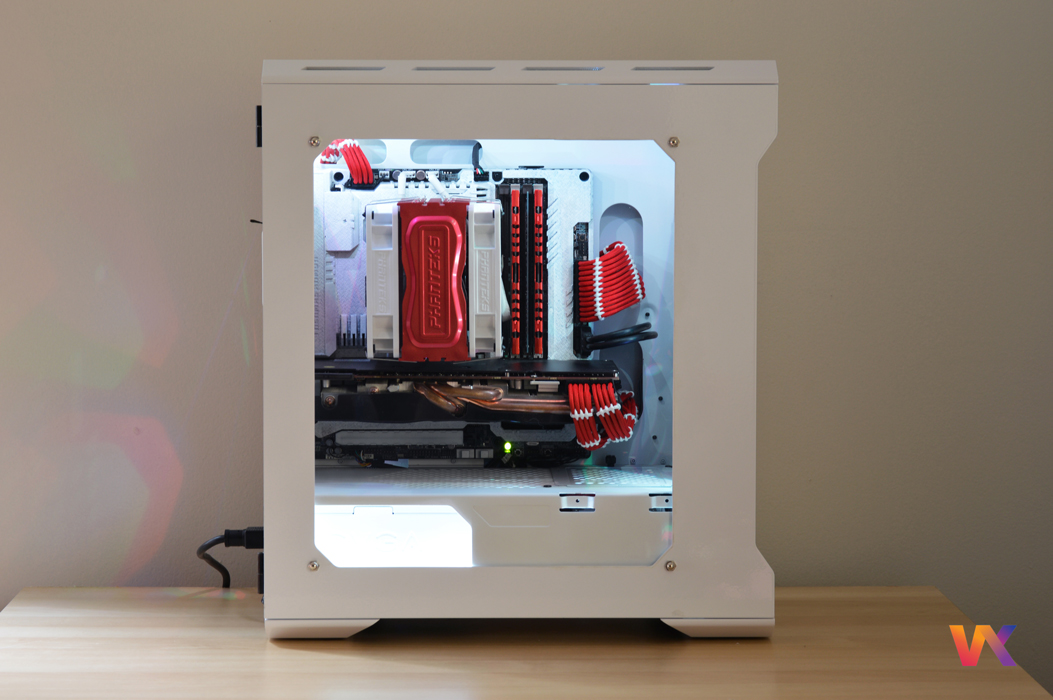
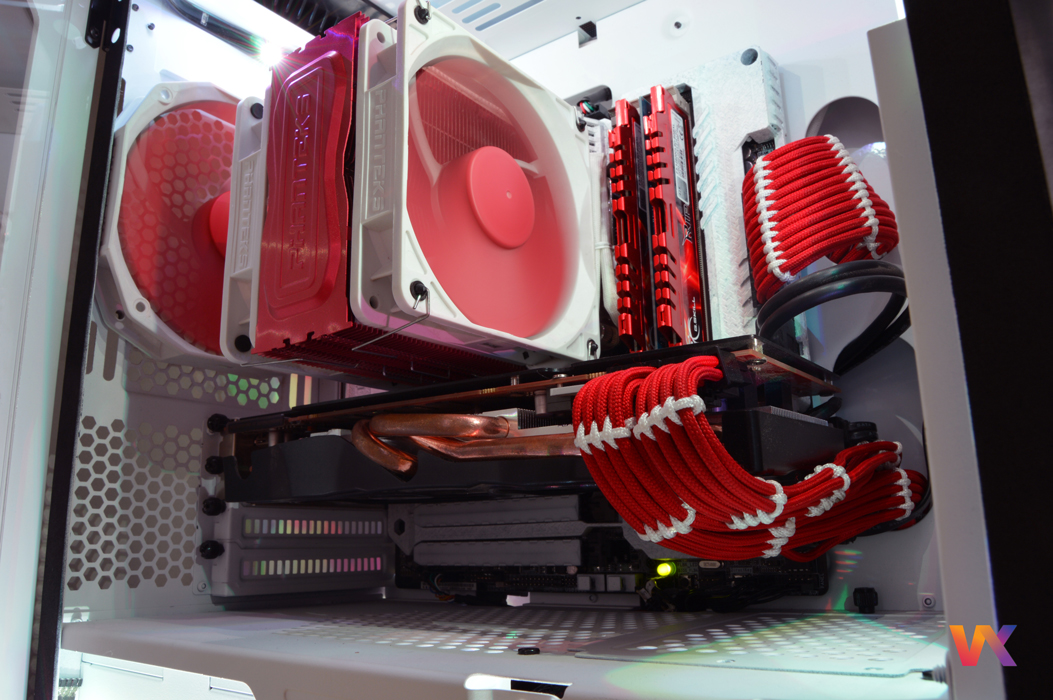
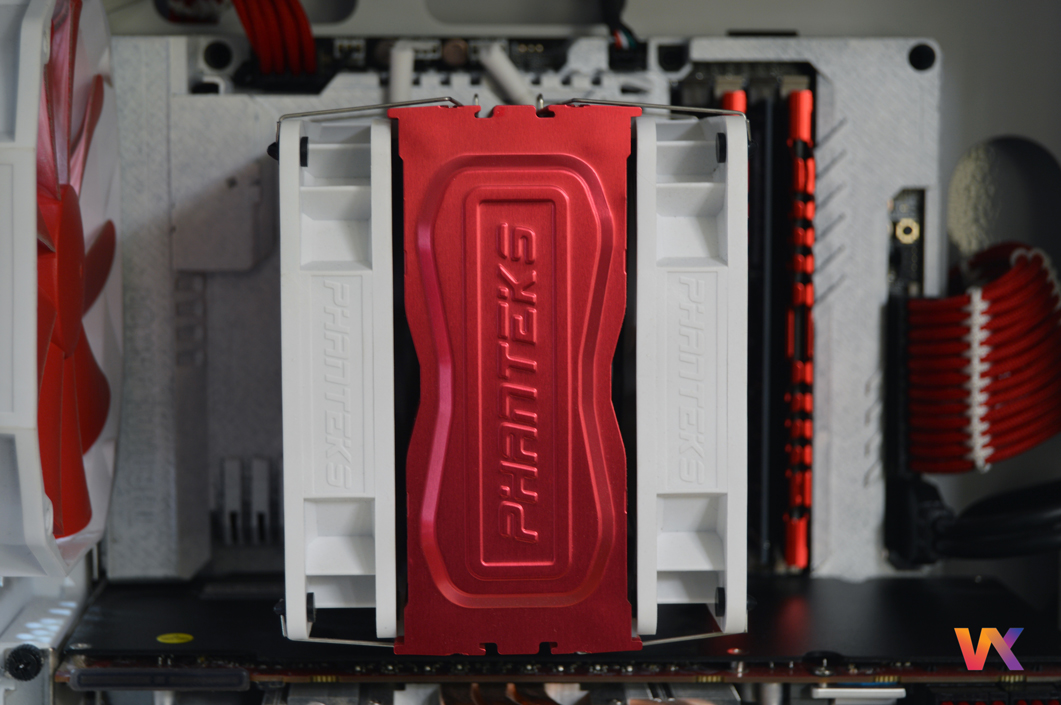
10 Silverstone extension sleeved cables which I laced with thick Para-cord for a strong contrast. 11 The results are better than I expected. 12 13 These Phanteks fan tags are actually a small piece of metal with their emblem embossed. 14 A close up of the EVGA PSU. 15 Standing strong. Light emitted from the window on the left and the LEDs on the right 16 At night. Thank You for reading, Frostbite.
-
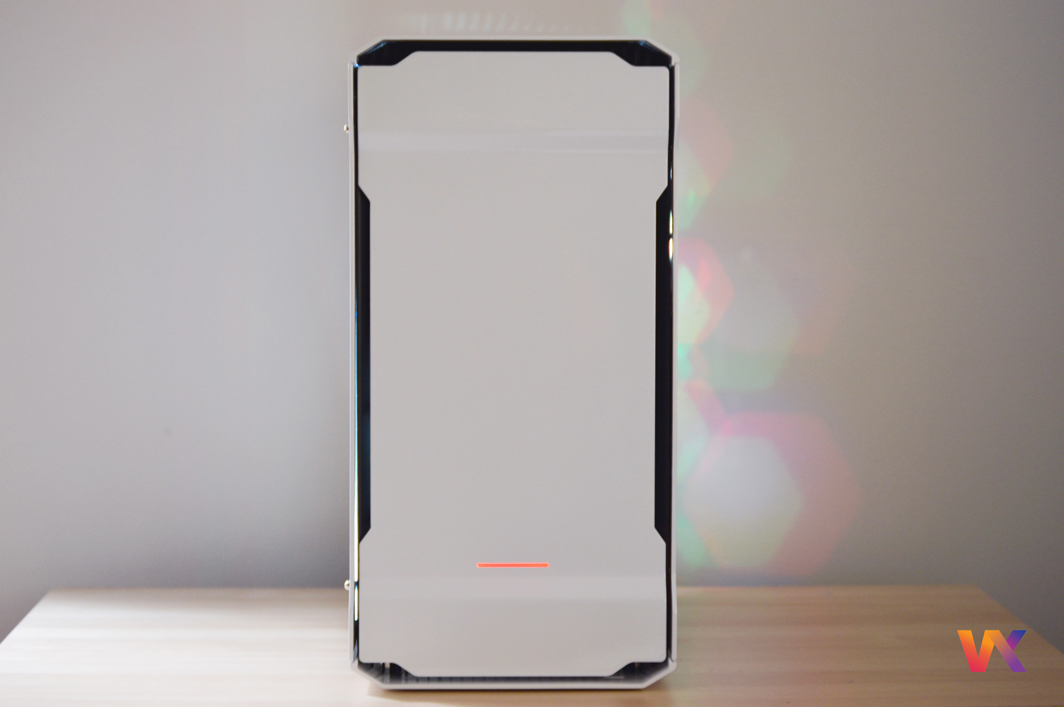
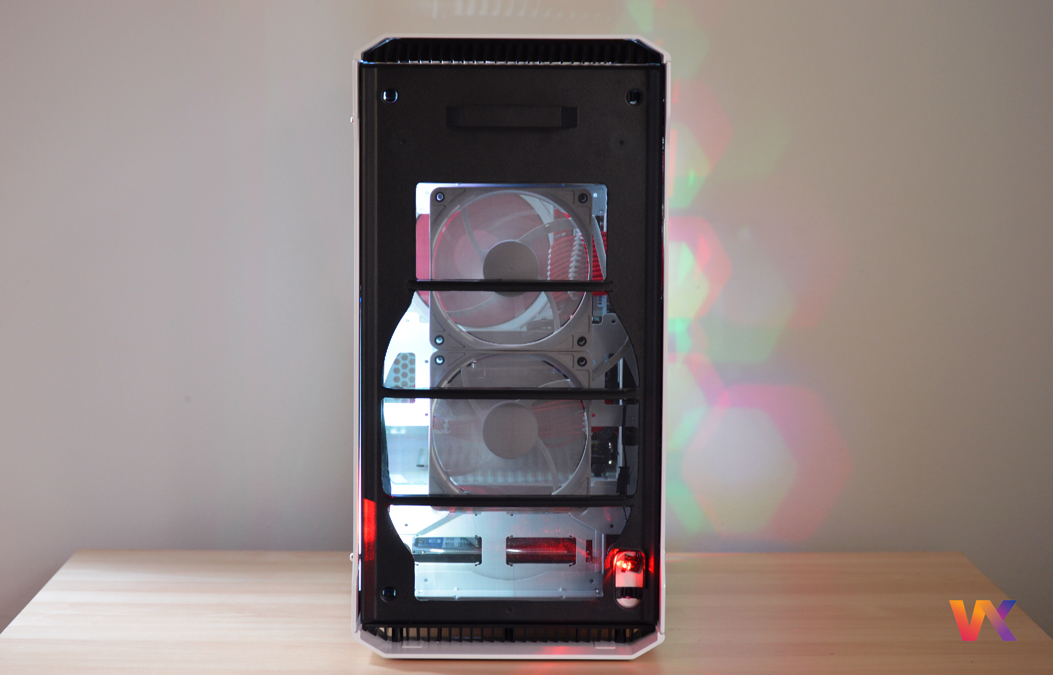
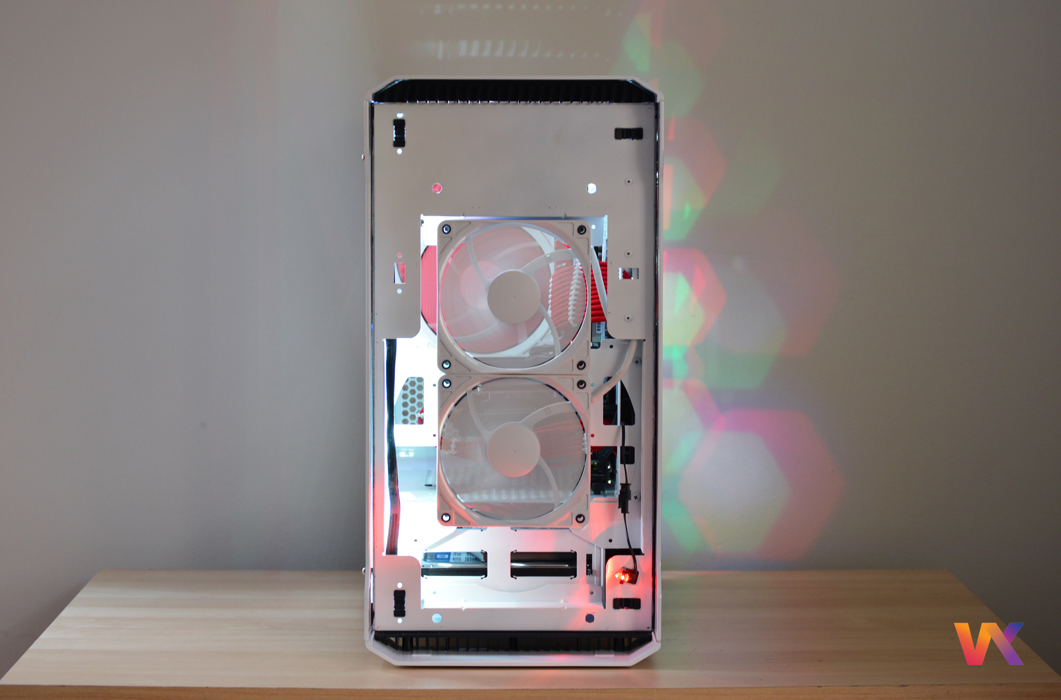
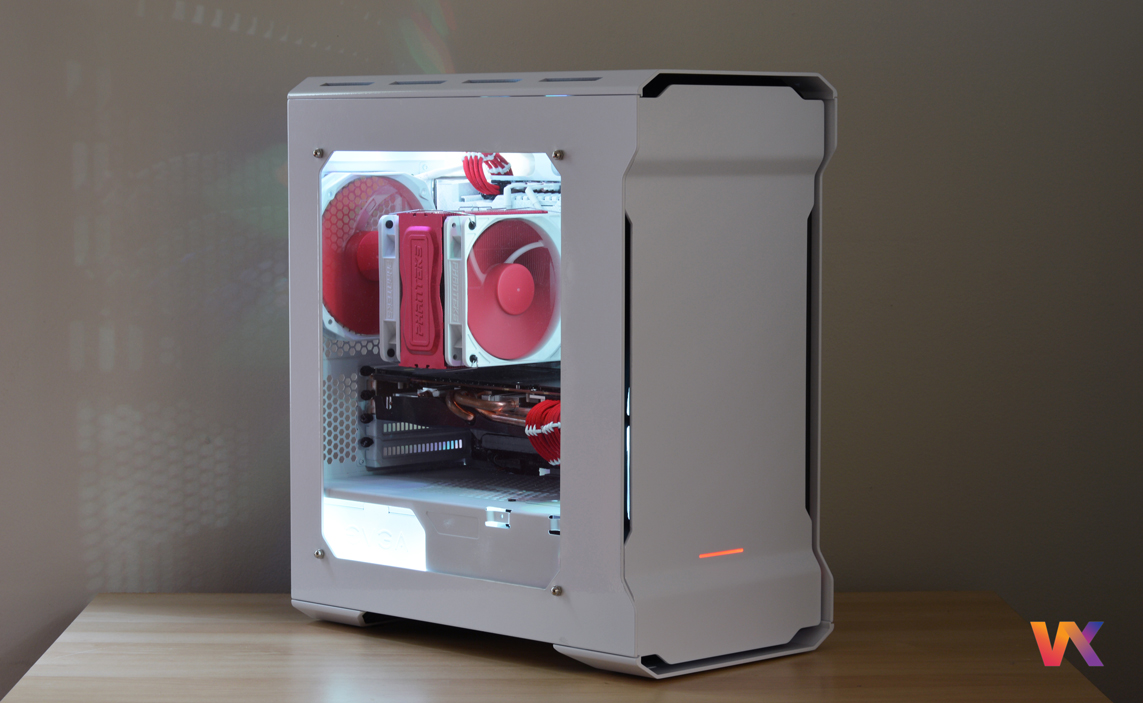
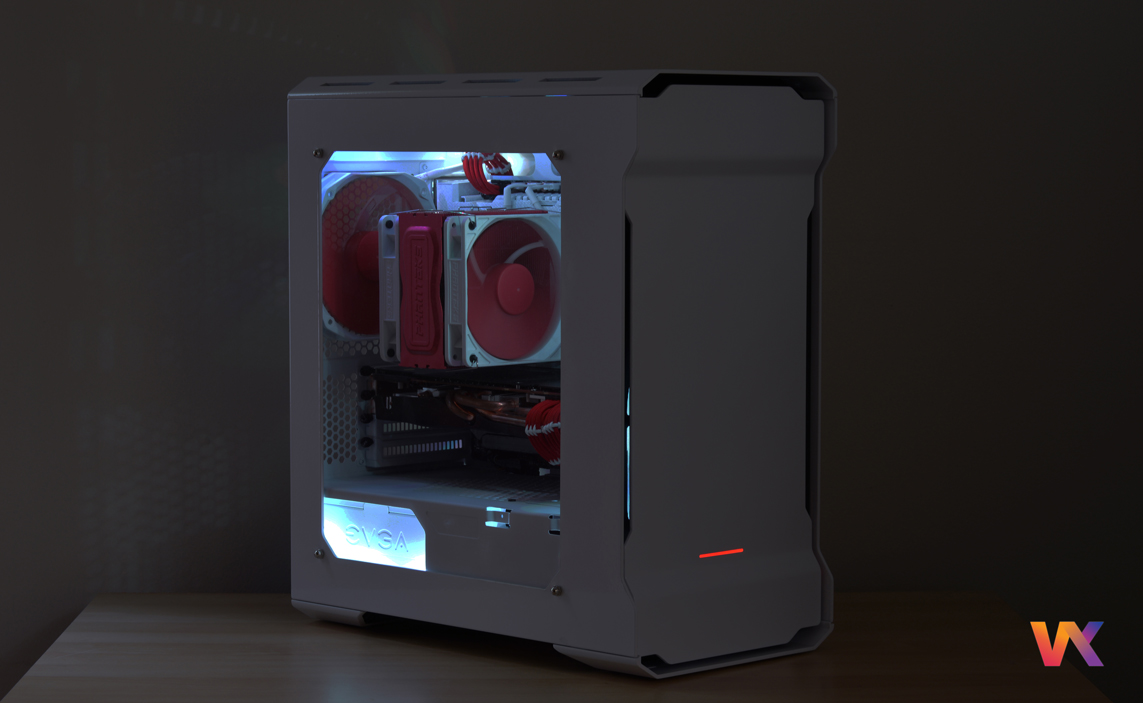
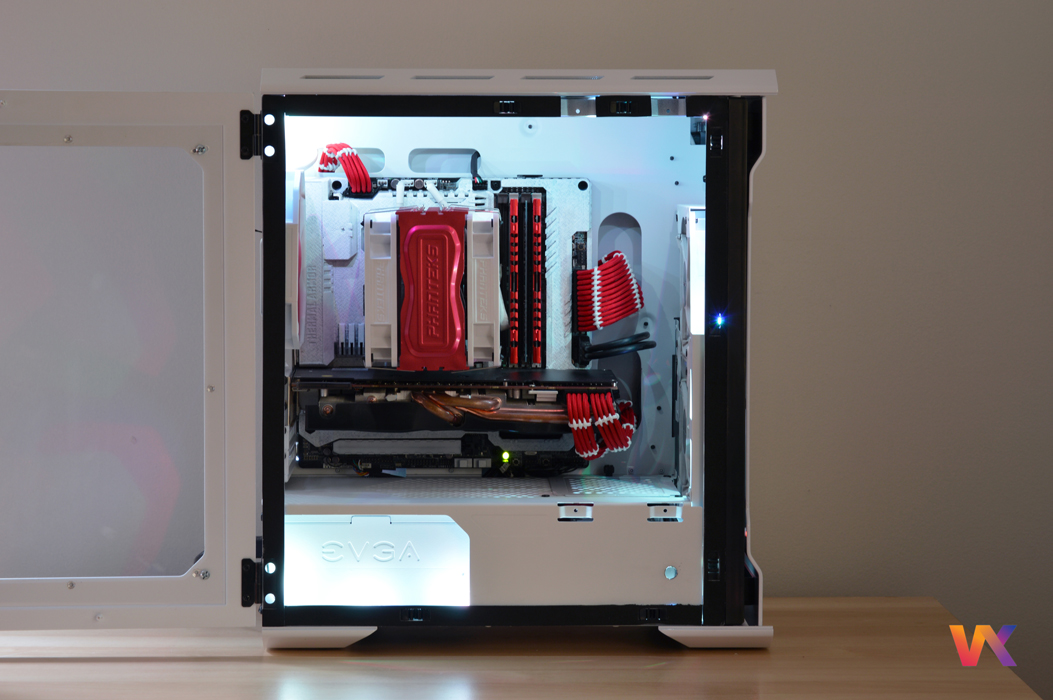
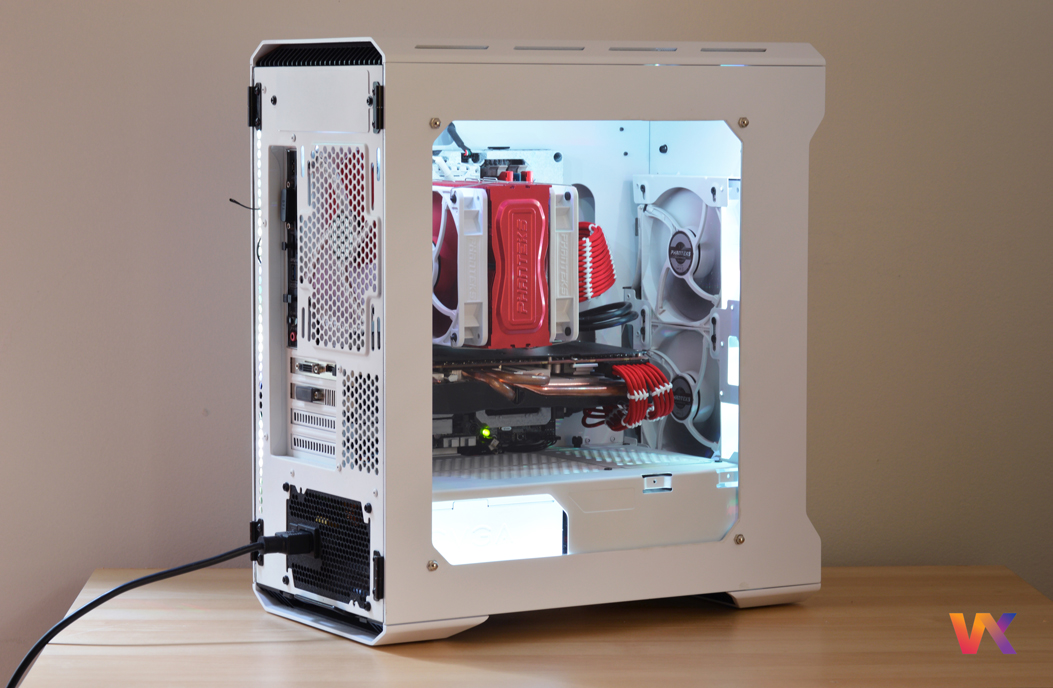
Frostbite’s Phanteks Evolv White-Out Version Hello, I am Frostbite and this build is a case and mod update to my previous build which can be found here: http://linustechtips.com/main/topic/82921-wip-frostbites-blood-prodigy-m-r9-280x/ . I plan on water-cooling in the future and further improve this build with small mods here and there (currently in college so it may take a while). When I first saw this case and its build quality I could not resist getting it but Phanteks did not make their White version white inside and out. This was the first thing I did upon receiving the case, strip it down, scuff it, and paint it white. This build follows the Red and White color scheme which in my opinion is more of a challenge than your typical Black and Red pc build. For the currents mods I will explain them picture by picture. (Yes I do have two Kingston SSD in Raid 0 and I bought them over a year and half ago by now so I apologize in advance, if I knew I would be boycotting them too) The only editing done to these pictures is the addition of a cool filter due to the fact that every picture came out with a warm tint caused by the lighting in the room. I had a friend of mine take pictures with his DSLR which outright destroys my IPhone pictures so enjoy them and feel free to ask me questions. Frosbite 1 Front panel Off, filter On. The included filter is black but cannot be seen from the inside so there was no reason to replace or paint it. The lighting effect on the right is caused by the NZXT HUE RGB LEDs escaping the case by small hexagonal holes (A nice effect I decided to keep). 2 Front panel Off, filter Off. The guts, I had a hard time finding all white fans sold separately so I ended up buying these two fans that come included with the all-white Phanteks cooler (PH-TC12DX) on r/hardwareswap. The LED in the bottom right that lights up the light bar can be replaced; the case includes white, blue and green as well. 3 Side Window. Here is the second major mod after painting the insides white. I extended the size of the window to display the rest of the components and used clear acrylic-glass instead of the included smoked window. I opted for screws to hold the window in place, used double sided tape in my previous build and would rather have a solid looking window. 4 Dark here, this the same picture edited to show the EVGA logo on the PSU which was also painted. The LED strip ends in this corner and the intensity is higher here than anywhere else in the case. 5 Full view! First and foremost I despise the USB 3 cable, it’s a bigger connector with thicker wires and I am considering just switching the front panel connectors to USB 2.0. I did not paint the GPU shroud or backplate as I may upgrade to a 300 series card and sell this one to a friend, also only universal GPU waterblocks fit this card and I am looking for a full cover one. 6 Window Open. The back rim is the included padding for the side panel. The hole in the bottom right is to allow the screw that holds the window to keep the side panel closed. I may in the future paint over the rear panel screws that hold in place the fan hub, front audio and USB, straps and more. 7 The little wire sticking out is a thermal probe for the Motherboard; I use it for ambient temperature. 8 Up close and personal. The screws for the PCI brackets will be replaced with most likely red ones. The extra wires at the bottom are barely noticeable but will be sleeved one day. YES the GPU only requires a six pin connector on the right but I plan on upgrading to a more power hungry card so I laced both sleeved cables with the extra two pins. 9 Before even buying this case it never occurred to me that all my cooling was being handled by Phanteks Fan and Cooler.
-
[Build Logs] -------------Snef's Gold Wings------------
Lost2Frostbite replied to Snef's topic in Build Logs
Amazing job Where did you get the white connectors pieces for you cables? -
Where did you get the cables?
-
Red cables and White connectors (custom sleeving help)
Lost2Frostbite replied to Lost2Frostbite's topic in Cases and Mods
Thanks you! I know your name and what you do, really appreciate the personal reply -
Red cables and White connectors (custom sleeving help)
Lost2Frostbite replied to Lost2Frostbite's topic in Cases and Mods
Thank you! do you offer single cable orders or do I need to order a full kit? -
Hey, I am looking for custom cables with red sleeving and white caps (connector). If you could link to custom cable makers or normal retail ones thank you.
-
What game is that?
-
Benchmarks?
-
Astro A40 MixAmp Pro Game/Voice nub not working
Lost2Frostbite replied to Lost2Frostbite's topic in Audio
How come? And thanks I guess