MafiaMoe
-
Posts
21 -
Joined
-
Last visited
MafiaMoe's Achievements
")
-
Three questions: Is there a way to verify the pump is running in the AIO cooler? Has water leaked somehow and is now boiling off at around 100C? Is there a kink in a water line? Those temps are way too high for any liquid cooler.
-
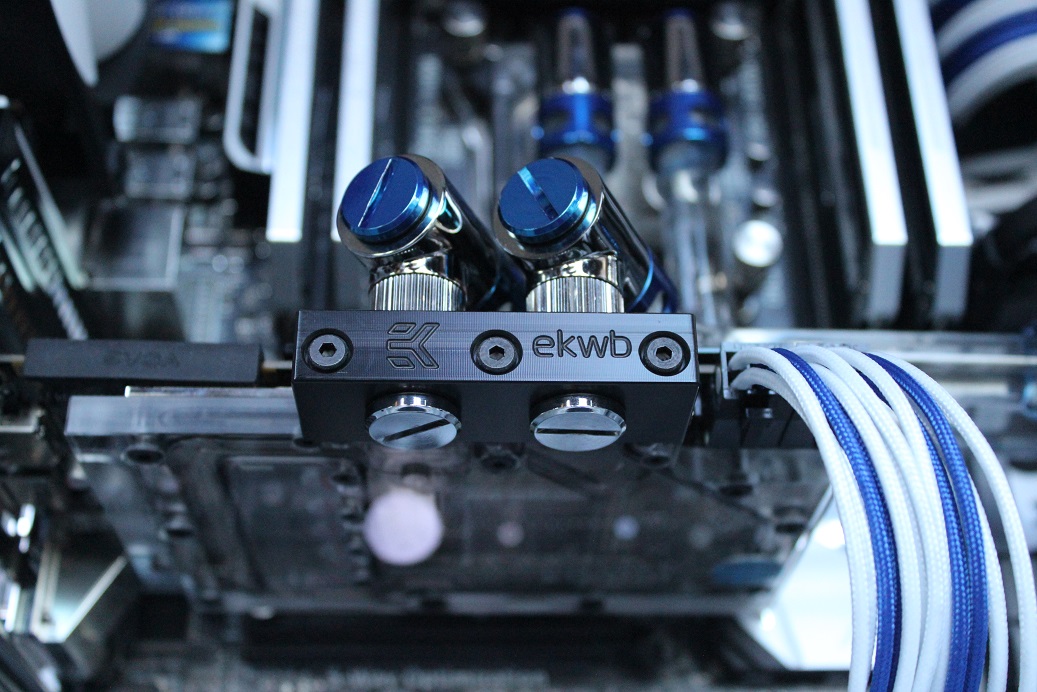
For me, I got the $100 pro bending kit from monsoon and a $15 heat gun. http://www.performance-pcs.com/acrylic-tube-tools/monsoon-hardline-all-pro-deluxe-bender-kit-1-2-x-5-8-16mm.html http://www.performance-pcs.com/monsoon-hardline-pro-heatgun-kit.html Not sure I can speak much about how easy/hard it is to maintain, but I went with monsoon fittings which I'm hoping will decrease the likeliness of leaks due to their unique-to-pc-cooling pipe endings. I have heard the tube/fitting seals are the most likely to fail, although it sounds like most water cooling parts on the market are pretty robust at this point.
-
My first water cooling build. Blog: https://linustechtips.com/main/blogs/entry/794-water-cooling-the-build/

-

Would there be a difference?
MafiaMoe replied to Edgar R. Zakarian's topic in Custom Loop and Exotic Cooling
There will be a noticeable difference. From the design of those fan blades it looks like the aerocool sicleflow fans might perform better than most standard case fans, but fans built specifically to create high static pressure will still perform much better. -
There are some dual port expansion tanks (for water heaters) that might fit the bill. They also have diaphragms that would limit the total water volume a bit, but it is commercially available... http://www.tanklesswaterheaters.com/backstop-a201-hydronic-expansion-tank-dual-port-4-5-gallon.html
-
I think I just gave a bad suggestion, not quite what I was thinking at first glance. All the small water tanks look like they are pre-charged and have only one inlet...
-
Might want to look at RO storage tanks. They are used for holding a few gallons of water after running through a reverse osmosis water treatment system for home installations. They will be sterile and about the size you are looking for. Some of them look pretty decent as well (5.5 gallons linked): https://www.freshwatersystems.com/p-5182-ro-water-storage-tank-55-gal-powder-coated-steel.aspx?utm_source=BingShopping&utm_medium=Feed&utm_campaign=Product&utm_term=ROT-5.5&gdftrk=gdfV213098_a_7c3846_a_7c14688_a_7c5182_6298_0
-
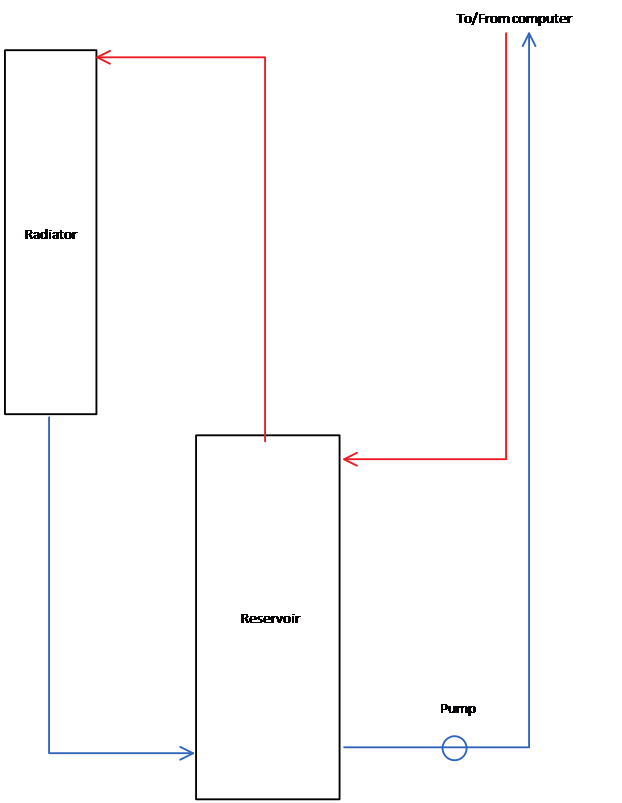
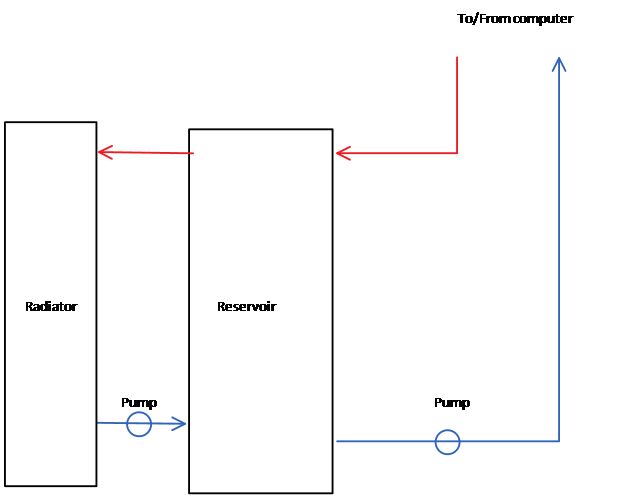
As a Mechanical Engineer that has been working on solar thermal loops for years, I might just have something to add to this topic. I think creating two loops may have some added benefit if configured in the following way. This is a modification on a method of storing solar thermal energy, allowing the warmest fluid to be available at any given time. The large reservoir naturally moves the warm water on top and the cold water down below. As long as there isn't too much churning, the fluids should stay stratified. In this case we simply want the warmest water to be moved to the radiator at all times. Same concept, different application. Natural convection may also be a means of moving the warm water to the radiator without the need for an extra pump, as long as a radiator can be found that has an inlet on each end (important!). Otherwise a pump could be added to this second loop to force this flow and allow for a more horizontal installation as follows. Also, the addition of thermal sensors (cheap) and a controller (Arduino) could allow for any configurations proposed so far to operate automatically while not running the pumps and fans 24/7. I think automation would be a great advantage regardless of loop configuration and is relatively easy now. Sorry if anything was already stated, this is quite a long thread and have only skimmed through the posts.
-
New Watercooling System. Need Advice.
MafiaMoe replied to mojo8850's topic in Custom Loop and Exotic Cooling
Tubing diameter won't make much difference unless there are several meters of tubes in your case. Same thing goes for those 90 degree elbows, unless there are dozens of them it will have little effect. I took fluid mechanics... and got an A... so I can speak with authority? Maybe... Someone who has scientifically tested water cooling components could definitely speak with more authority than I. Real world data is always more reliable than tables and equations. -
Combining Radiators and fans on either front face or top
MafiaMoe replied to H_E_Xy's topic in Custom Loop and Exotic Cooling
Of the two, the 280 is likely the best option but either is a bit much for just a CPU unless you really want those low temperatures. If it is just cooling the CPU, a single 120mm rad oriented sideways might also be an option (so the piping is either closest to or furthest from the motherboard). This should keep the bulky ends of the radiator from interfering with the placement of a fan just beside it. Plus many cases have the 120mm screw holes placed fairly far from the motherboard giving more room for the bulkier ends of radiator. -
I am personally not surprised that a slim fans doesn't perform well with a radiator. I doubt any thin fan could really create much static pressure without spinning up to extreme speeds. I would expect even a normal depth non-SP fan to perform much better than a thin one, although still not nearly as good as a proper static pressure fan. Thicker fan blades move less air with more force ( = higher static pressure). More thin fan blades move more air with less force.
-
Combining Radiators and fans on either front face or top
MafiaMoe replied to H_E_Xy's topic in Custom Loop and Exotic Cooling
If I understand this correctly, I think you may run into a problem with the end of the radiator overlapping some of the space for the fan space beside it. Every radiator I have seen has a bit of a bulge at the far end that will get in the way. I went with a 360 rad even through I'm cooling less than 200W total during gameplay between the GPU and CPU. I'm finding it nice to be able to turn down the fans for very quiet operation. Perhaps going with a thin triple rad would be a good compromise? -
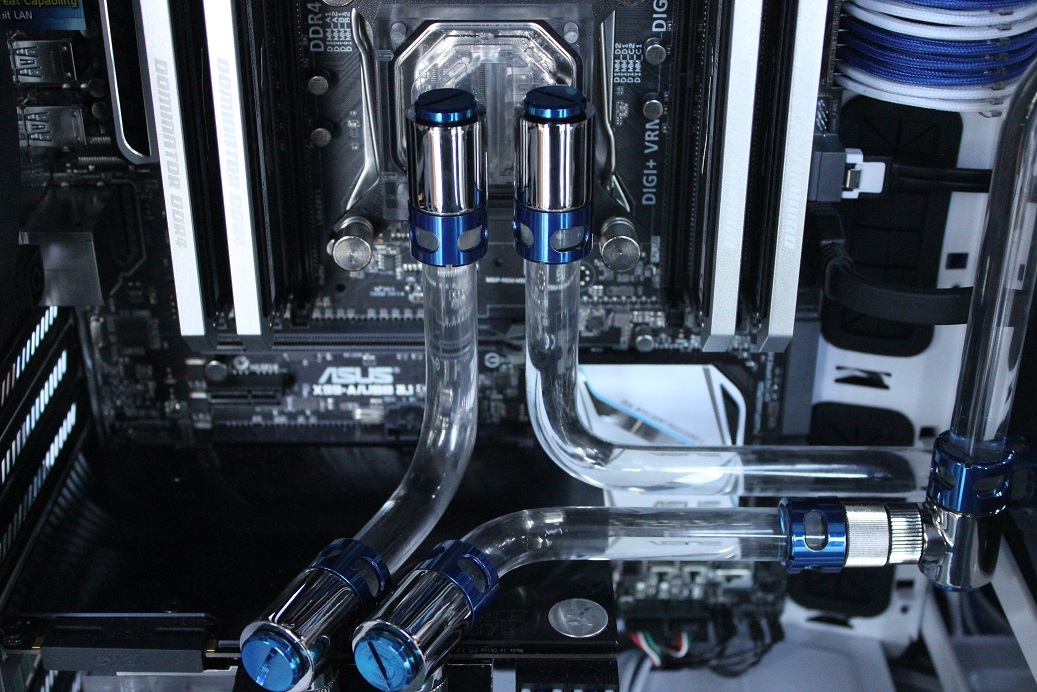
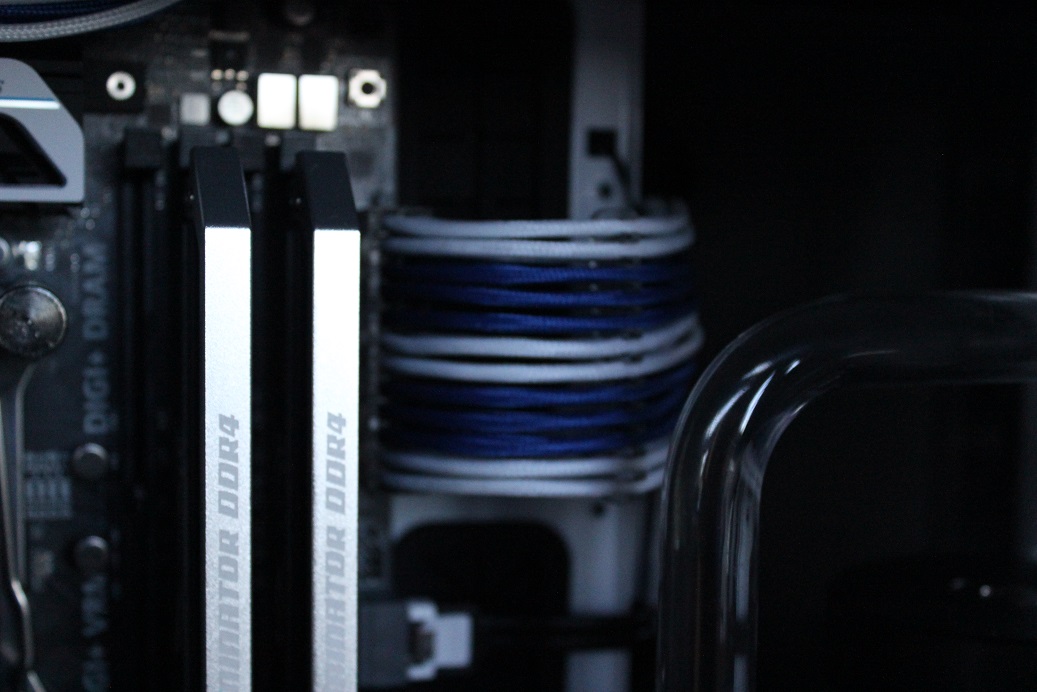
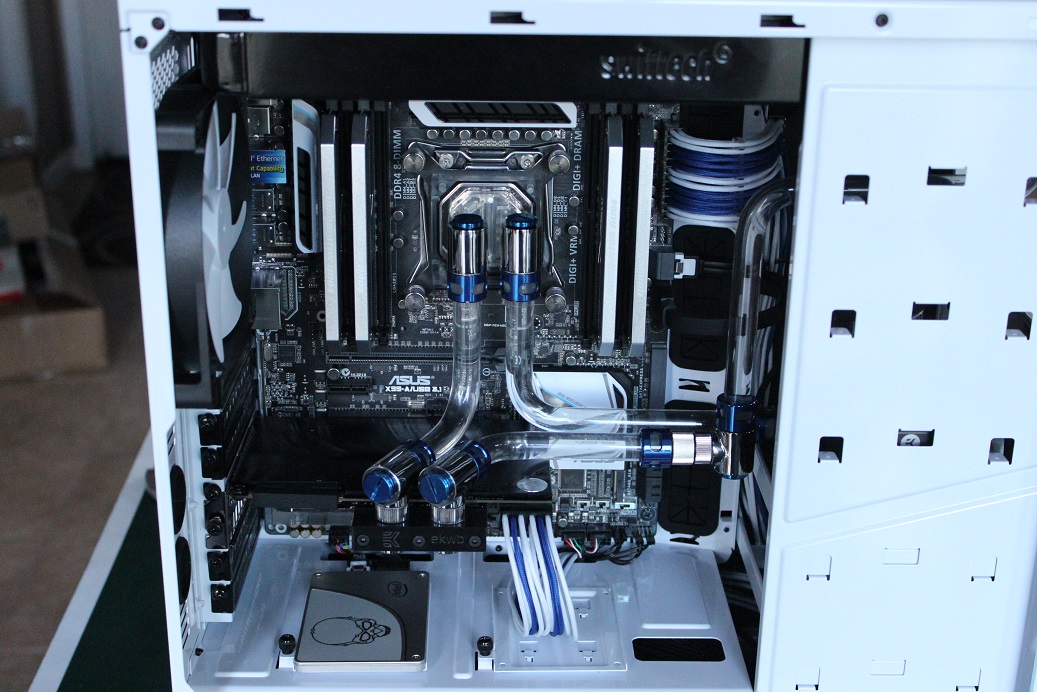
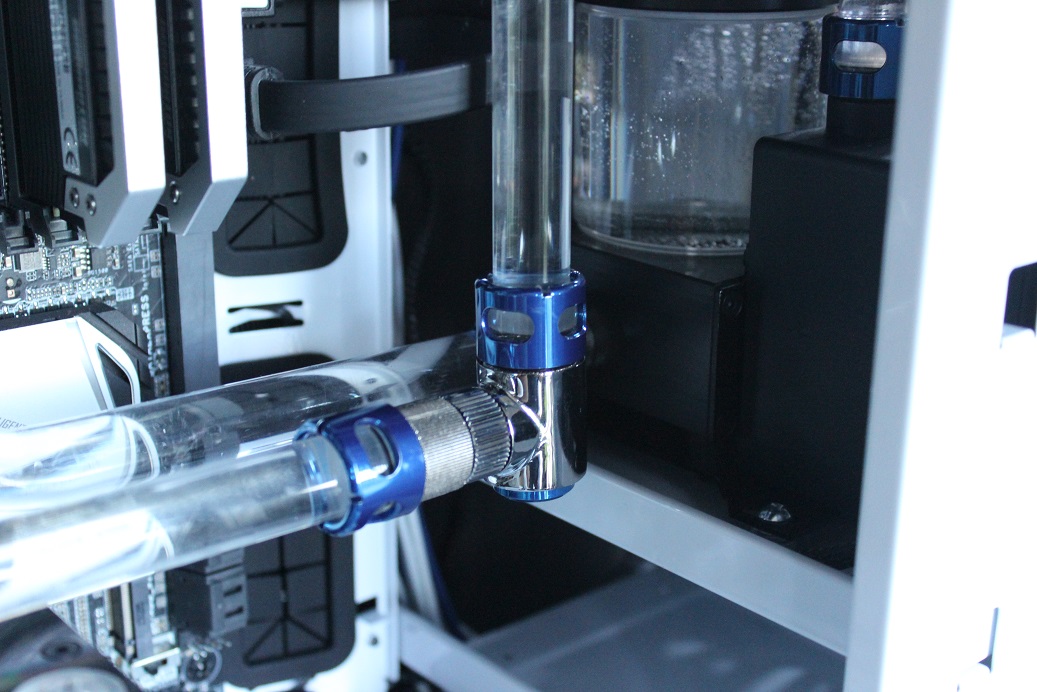
It comes down to what you are looking for. I just built my first custom water cooling loop with hardline tubing for the looks alone. Mine was likely $100 more expensive than soft tubing because I opted for a handful of rotary fittings, otherwise the cost would have been about the same. I am very happy with the results, but it did take a lot of planning/measuring/bending to get it right. Build blog: http://linustechtips.com/main/blog/611/entry-794-water-cooling-the-build/
-
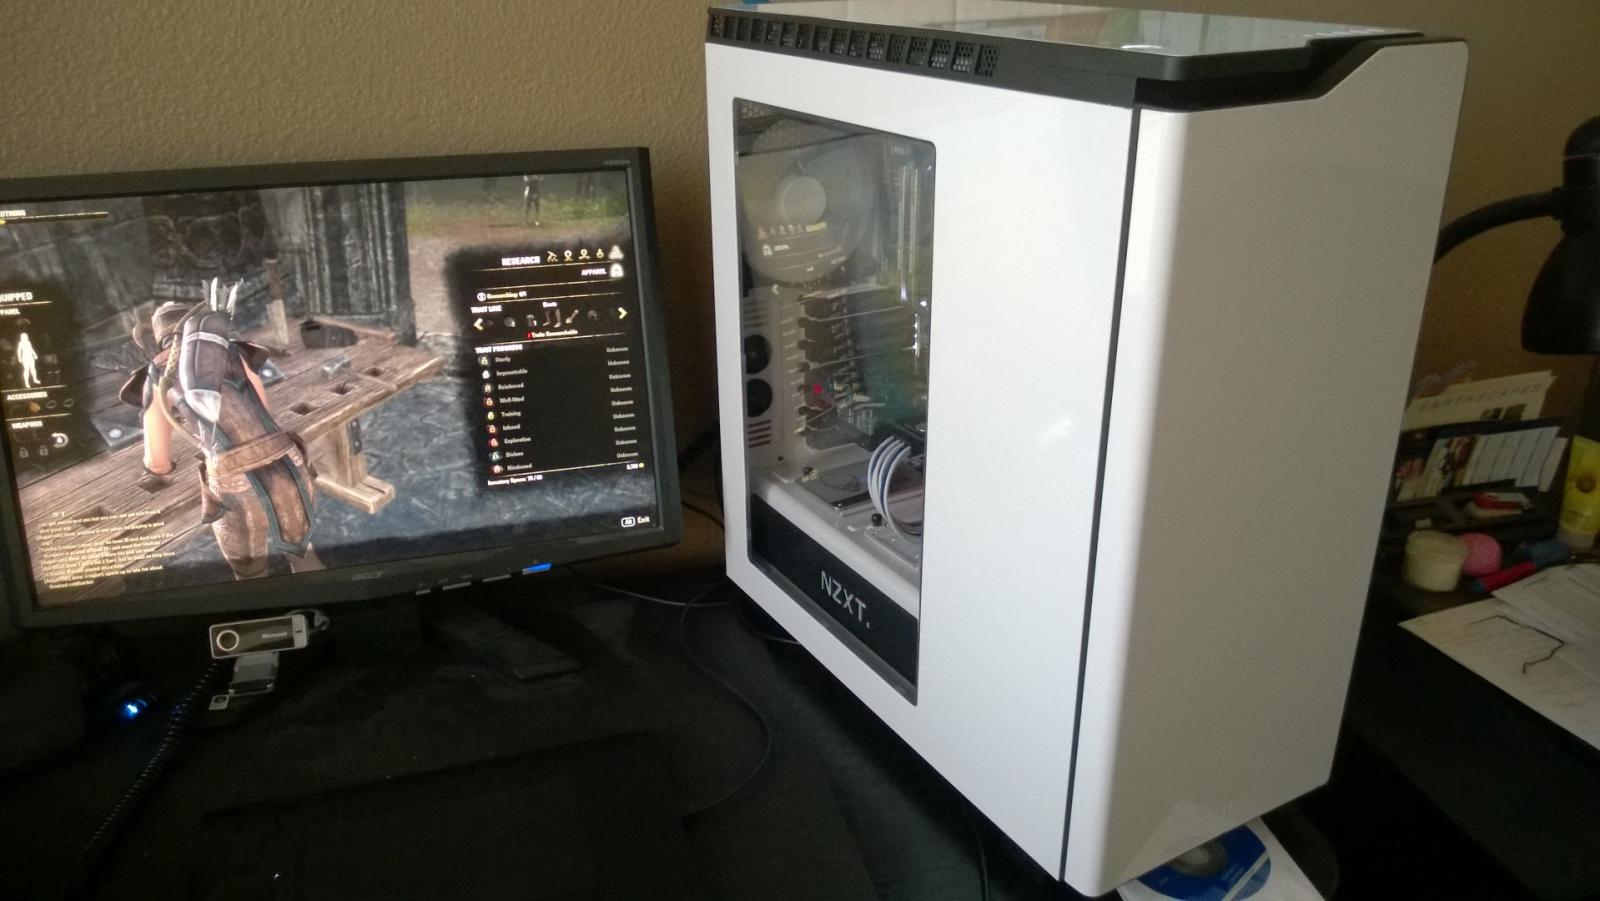
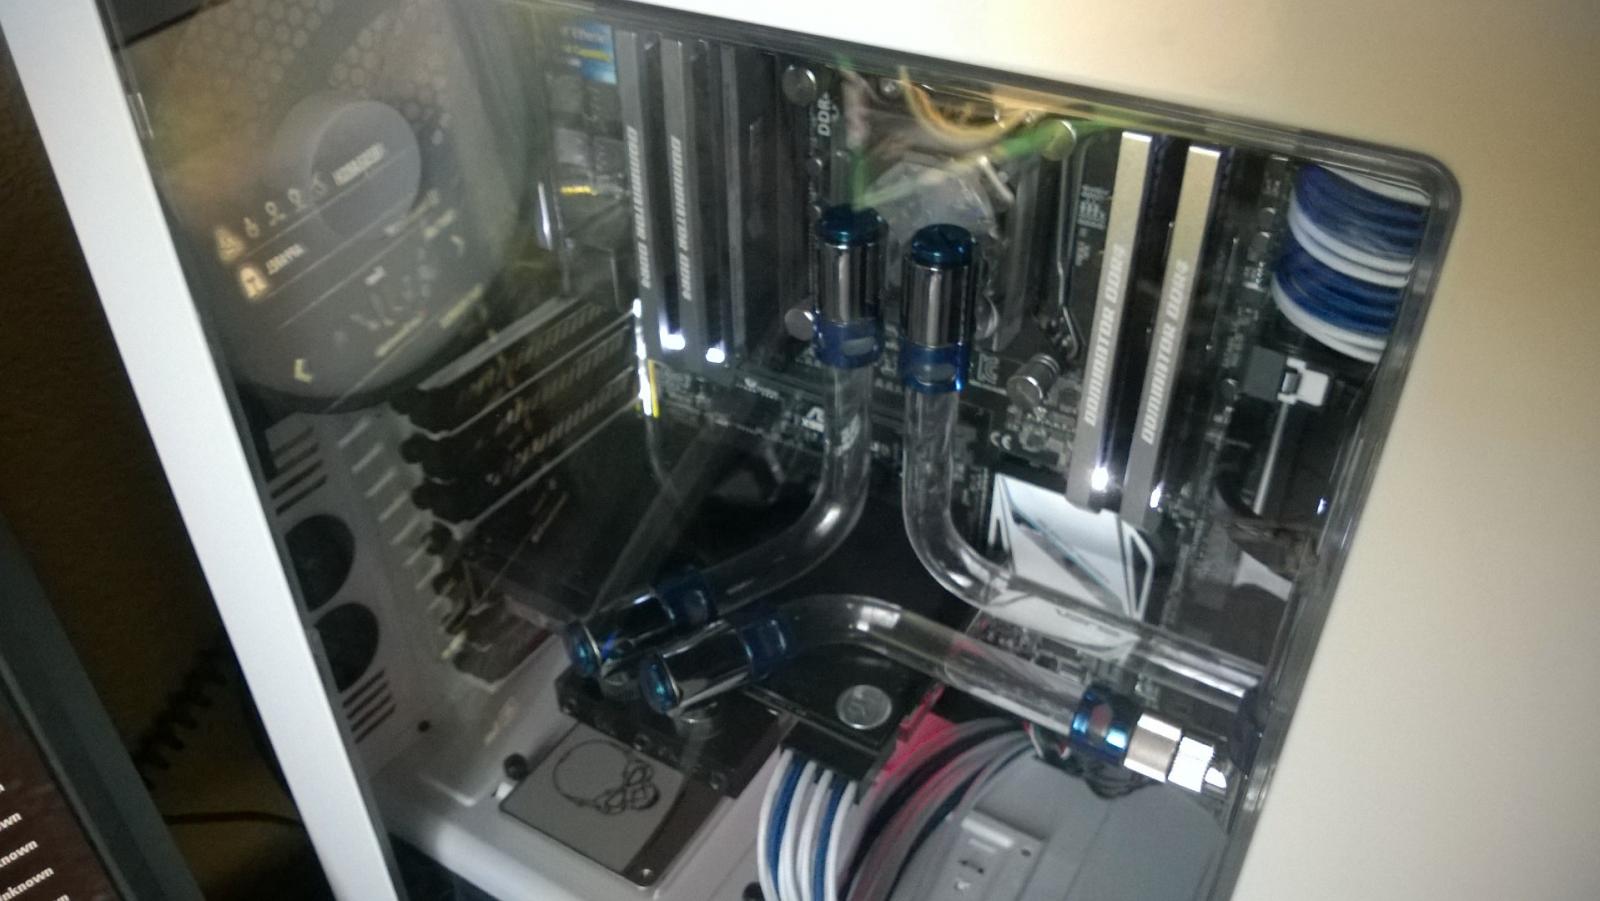
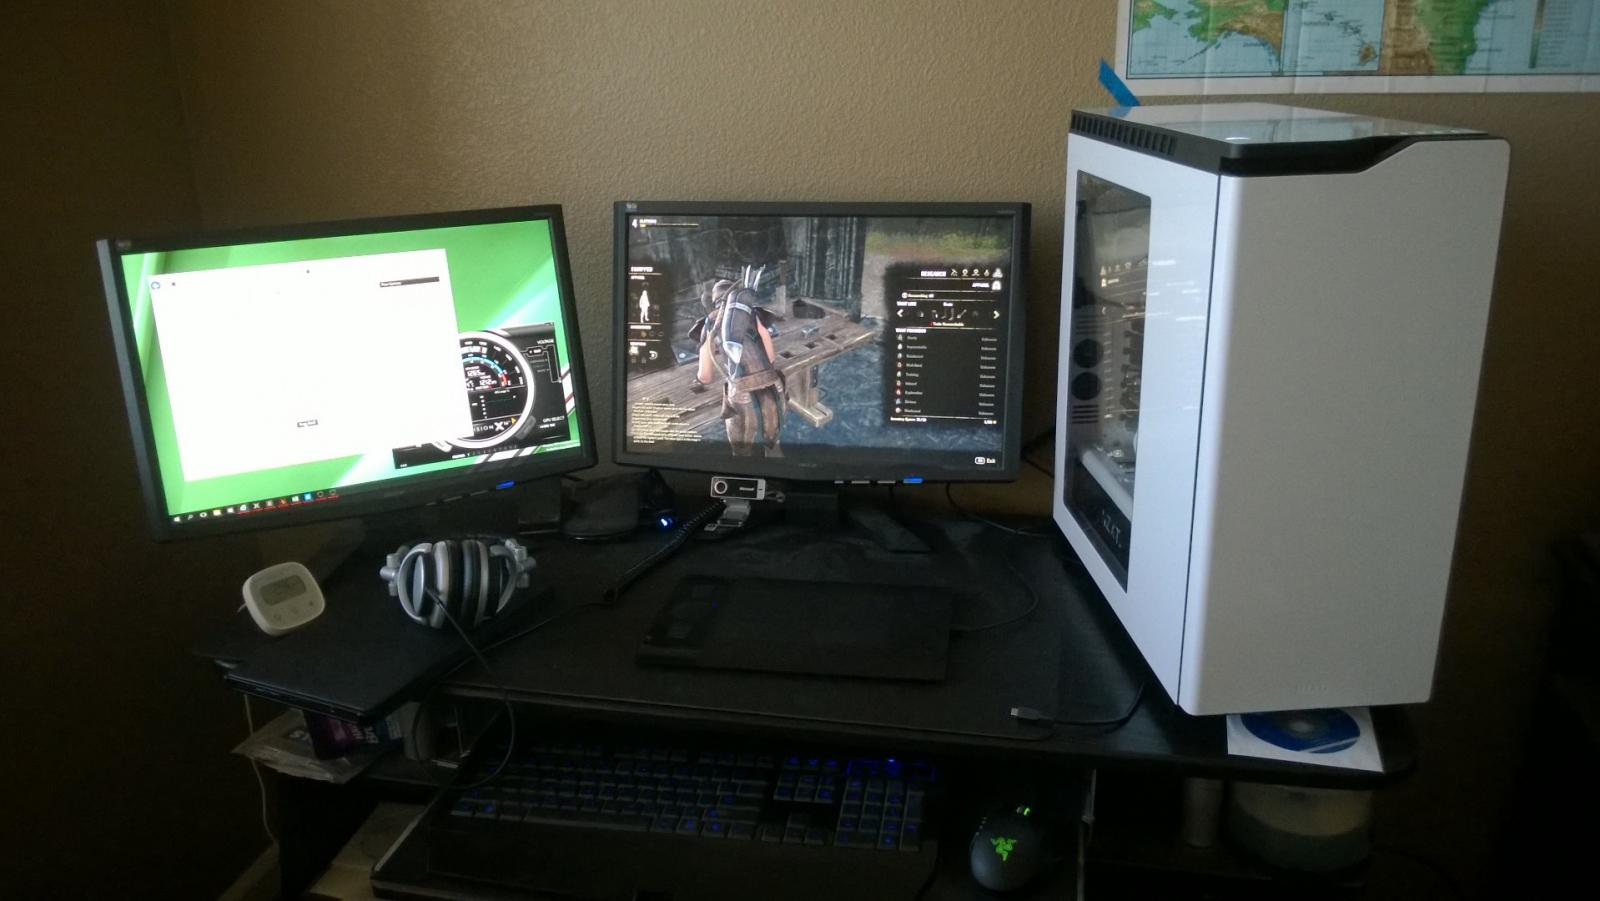
After breaking in and tuning the system to be extremely quiet for a week, I can now say that my first custom water cooling loop is preforming well and is quieter than expected. The only thing that really makes noise at lower speed is the pump. Thankfully the ASUS motherboard lets me have complete control over the speed of the fans and I can keep the pump running at its lowest setting even as the CPU warms up. I have not noticed a temperature difference when the pump is running full speed or running at minimum, likely because this pump is completely overpowered for the loop it is in. I have also noticed there is approximately a 12 C difference between the CPU/GPU temperature and the water temperature, while less than a 4 C difference across a water block. I also have some basic information about the radiator performance. When the system is running a game, the water temperature levels off between 40 and 45 C. This means there is about a 15 C difference between the inside of the case and the water in the loop. A noticeable temperature drop could be seen by doubling the radiator but the difference would only be by 7.5 C. However, that temperature drop would be less if the second radiator was positioned at the front of the case pulling air in and heating up the entire case in the process. My personal take-away on the thermals: Quality water blocks are more important than an expensive pump. Radiators at the top and back make sense, with larger radiators capable of providing a noticeable temperature drop. Larger pumps can be turned down to silent operation and still provide adequate flow rate for overclocking situations. Speaking of overclocking, I used the EVGA PrecisionX tool to see how far I could push my GPU. I was able to get a stable overclock of an additional 235 MHz on the GPU. That boosted the GPU clock speed from 1265 to 1500 Mhz, or about 18.5%. Much higher clocks caused the driver to stop responding during testing. I also boosted the memory by 800 to 4305 MHz, or 22.8%. Much higher and artifacts would appear and fail the test. For testing I used 3DMark 2015 and focused on running the 'Fire Strike Extreme' test. This test seems to stress 900 series graphics cards without turning the whole process into a slideshow or have unrealistically fast FPS speeds. Non overclocked runs resulted in scores hovering around 5030 overall and 5170 graphics scores. The fully OC runs resulted in scores around 5820 overall and 6030 graphics. That shows a 15.7% and 16.6% increase in performance scores running this test overclocked. Not bad considering my GPU temps never broke 62 C in all of my testing. Update: After running through my motherboard settings, I was able to boost the PCI link speed of the GPU. It turns out my GTX 970 may have been running at PCIe 3.0 x1 speeds! Turning it up to the available x4 speeds only boosted my 3D mark score by 180 points and 300 points overclocked, but any extra 'free' performance is welcome. I have update the results above to reflect these new values. If this is true, this is a huge validation that current graphics cards are not utilizing much of the PCIe bandwidth with a single graphics card. SLI configurations are probably a whole different story. Update 2: It has now been a few weeks and the thermals and overall computer have been very stable. I decided to take a quick crack at overclocking the CPU to see how much overhead I have with this rig. It turns out that even without turning up the voltages much (an additional 0.075V to 1.3V) I can achieve a stable 4.6 GHz, up from 3.3 GHz. That is a 39.4% overclock! With so much overhead, I will likely run the CPU overclocked for daily use. Currently many of my games are bottlenecked by the CPU anyway due to them only stressing a single core... Overall I am very happy with the result. The system achieved my goal of creating a system that remains quiet even when stressing both the GPU and CPU. This is also hands down the best looking system I have created to date. I have absolutely no problem with the thought of looking at this computer every day for the next 5 years. Now I might need to save up to improve everything else sitting on my desk...
-
Passively cooled fish tank computer
MafiaMoe replied to FakeGamerGuy's topic in Custom Loop and Exotic Cooling
One thing I have to say, you might get temperature stratification in the water tank if it is not churning. This simply means hot water will stay on top and cold water will stay on bottom. This can actually be beneficial in this case, as long as you are pulling the cold water from the bottom of the tank and depositing hot water on the top. You can just extend the cold water pipe down from inside the tank to get this effect. It might even be more advantageous to get a slower pump to aid in the stratification of the water. (higher flow rates = more likely to 'churn' the water and equalize the temperatures from top to bottom). Also, taller tanks tend to stratify better. If you do end up putting a radiator on the tank, just do the opposite: pull hot water from the top and deposit cold water on the bottom. For a macro-sized example of this, check out the image http://facilities.ucmerced.edu/central-plant. That huge cylinder at the right of the picture that is dwarfing the 3 story building is filled with two million of gallons of water. They cool down the water at night and use the cold water as an AC system during the day for 4 large buildings (not pictured). They use the thermal stratification to keep the warm water from mixing with the cold water, meaning they don't need 2 separate tanks.